Three Questions to Direct Your Energy Toward Better Health

IMG_0439 - CopyAs we all collectively passed over that timing that is the coming of the New Year (can you believe it’s 2014?!!  I mean, remember when it was 2001 and you were like, 2014 is the FUTURE FAR AWAY and practically 2020 which is like, when the Jetsons were flying around, right?), I personally found myself in a confusing whirl of New Year’s resolutions, questions, goals and vision quests. Suffice it to say, I was feeling overwhelmed.

Sometimes these times of confusion can be super informative in that they force us to work through them and find focus.  I have been working on making my nutrition coaching business more of a full-time endeavor, yet suddenly, I’ve had tons of time, and frankly, a little more time than I’m generally comfortable with, to focus on ME, my business, the future trajectory of my life, and everything in between.  Seeking guidance, I looked toward many of the tools and people I usually look to for help and inspiration, and through this process, I found a little grounding exercise that I came up with all by myself (our personal power and intelligence truly is our best resource) that has proved to be incredibly powerful in my daily activities and focus.  I ask myself these 3 questions that have to do with choosing health:

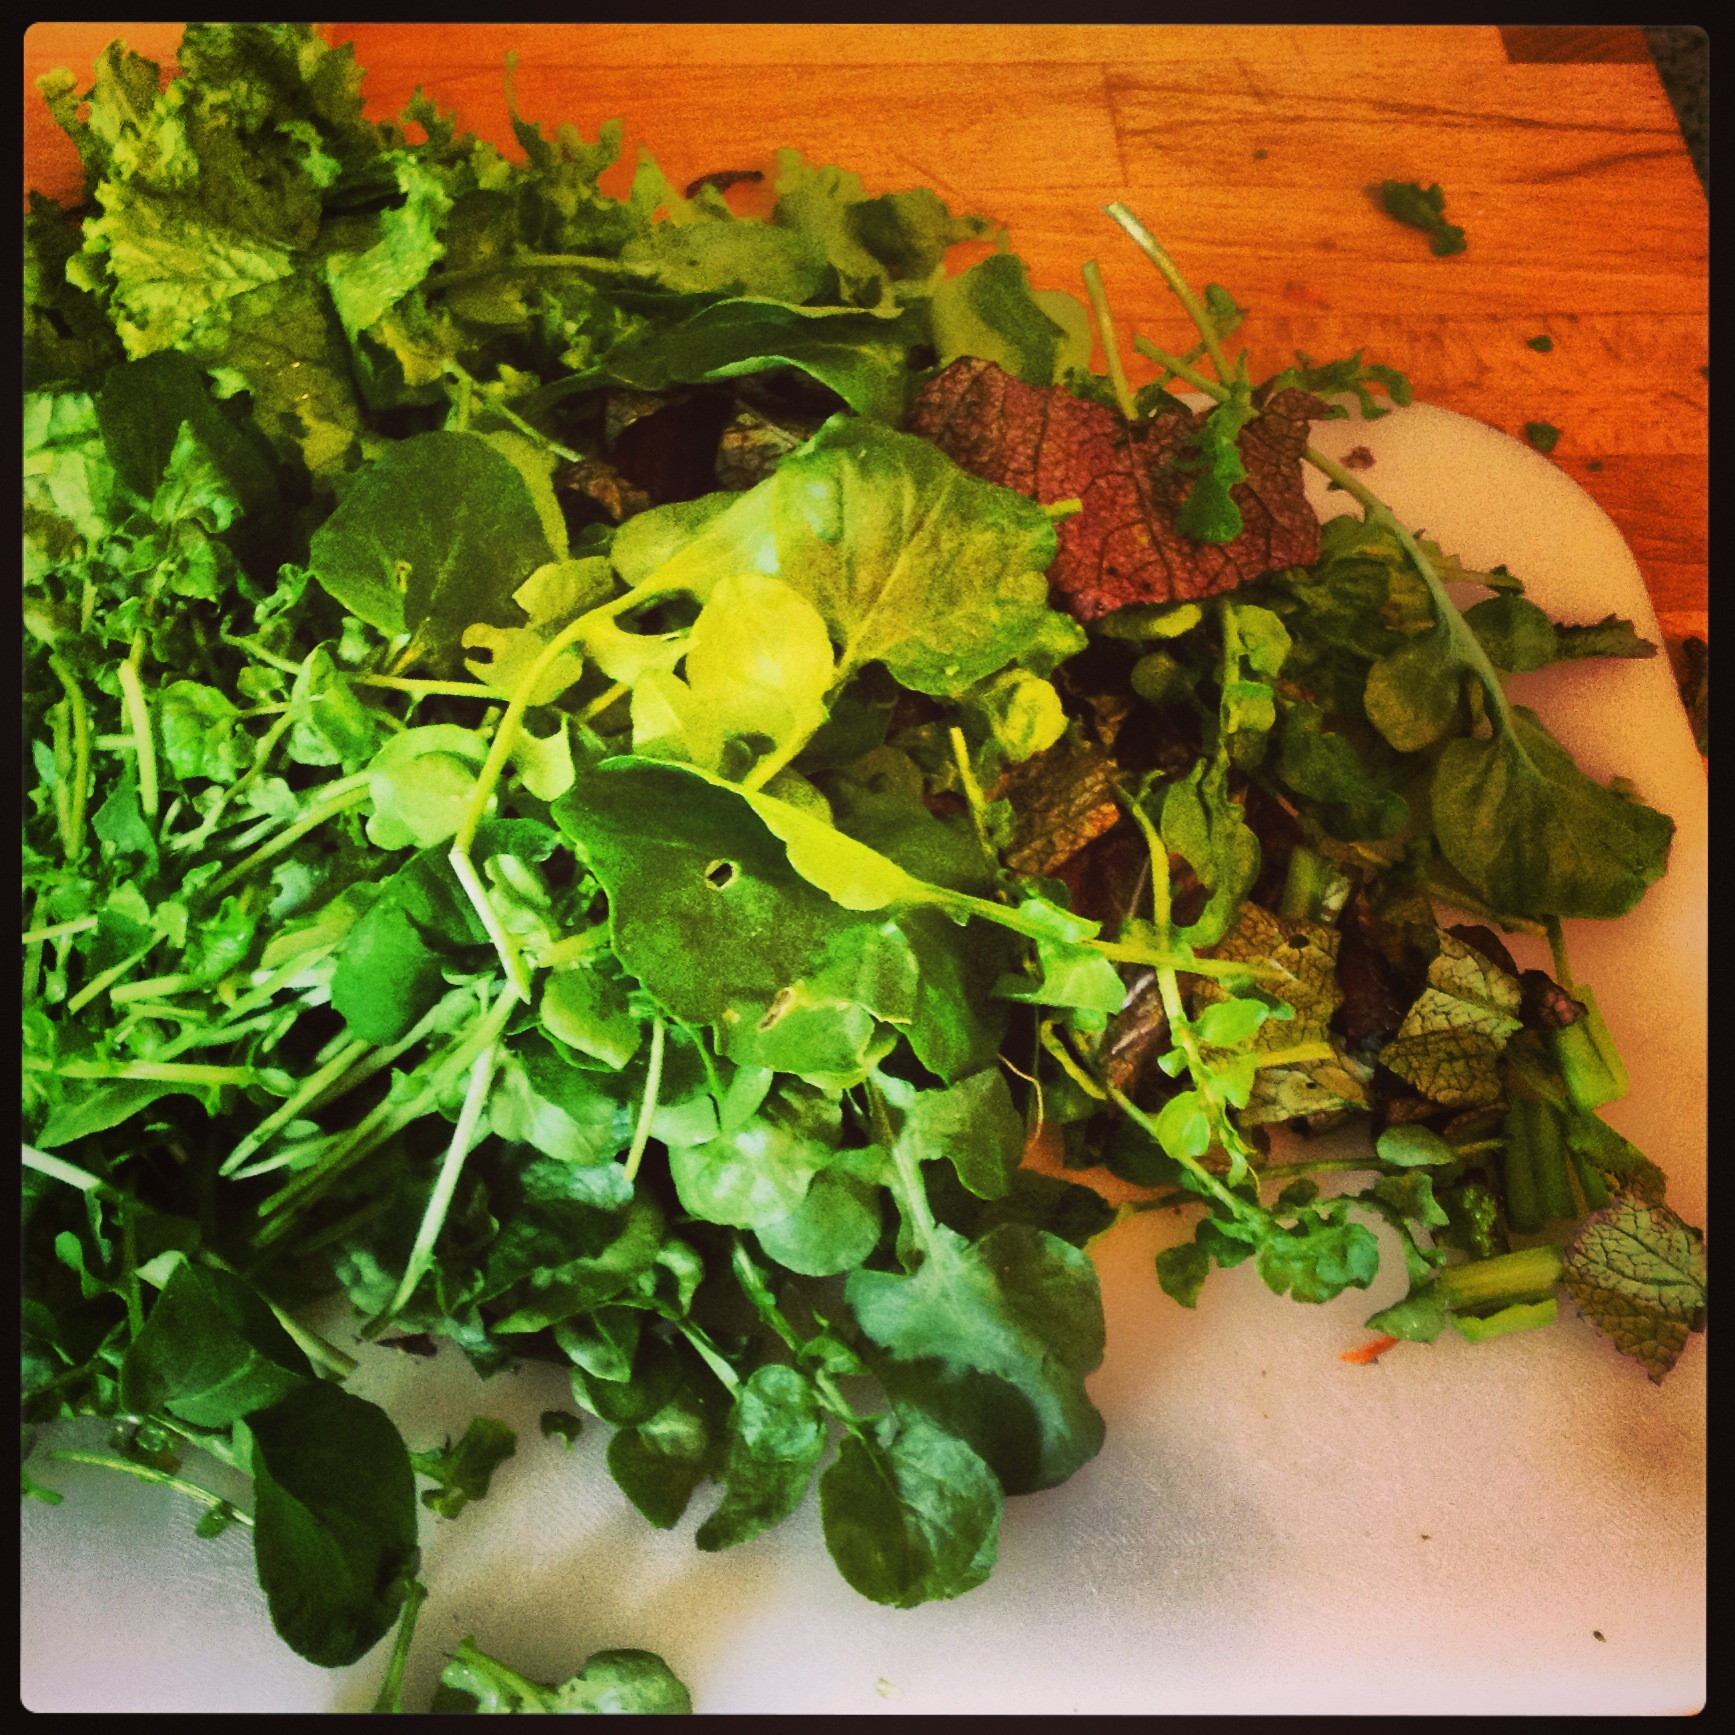
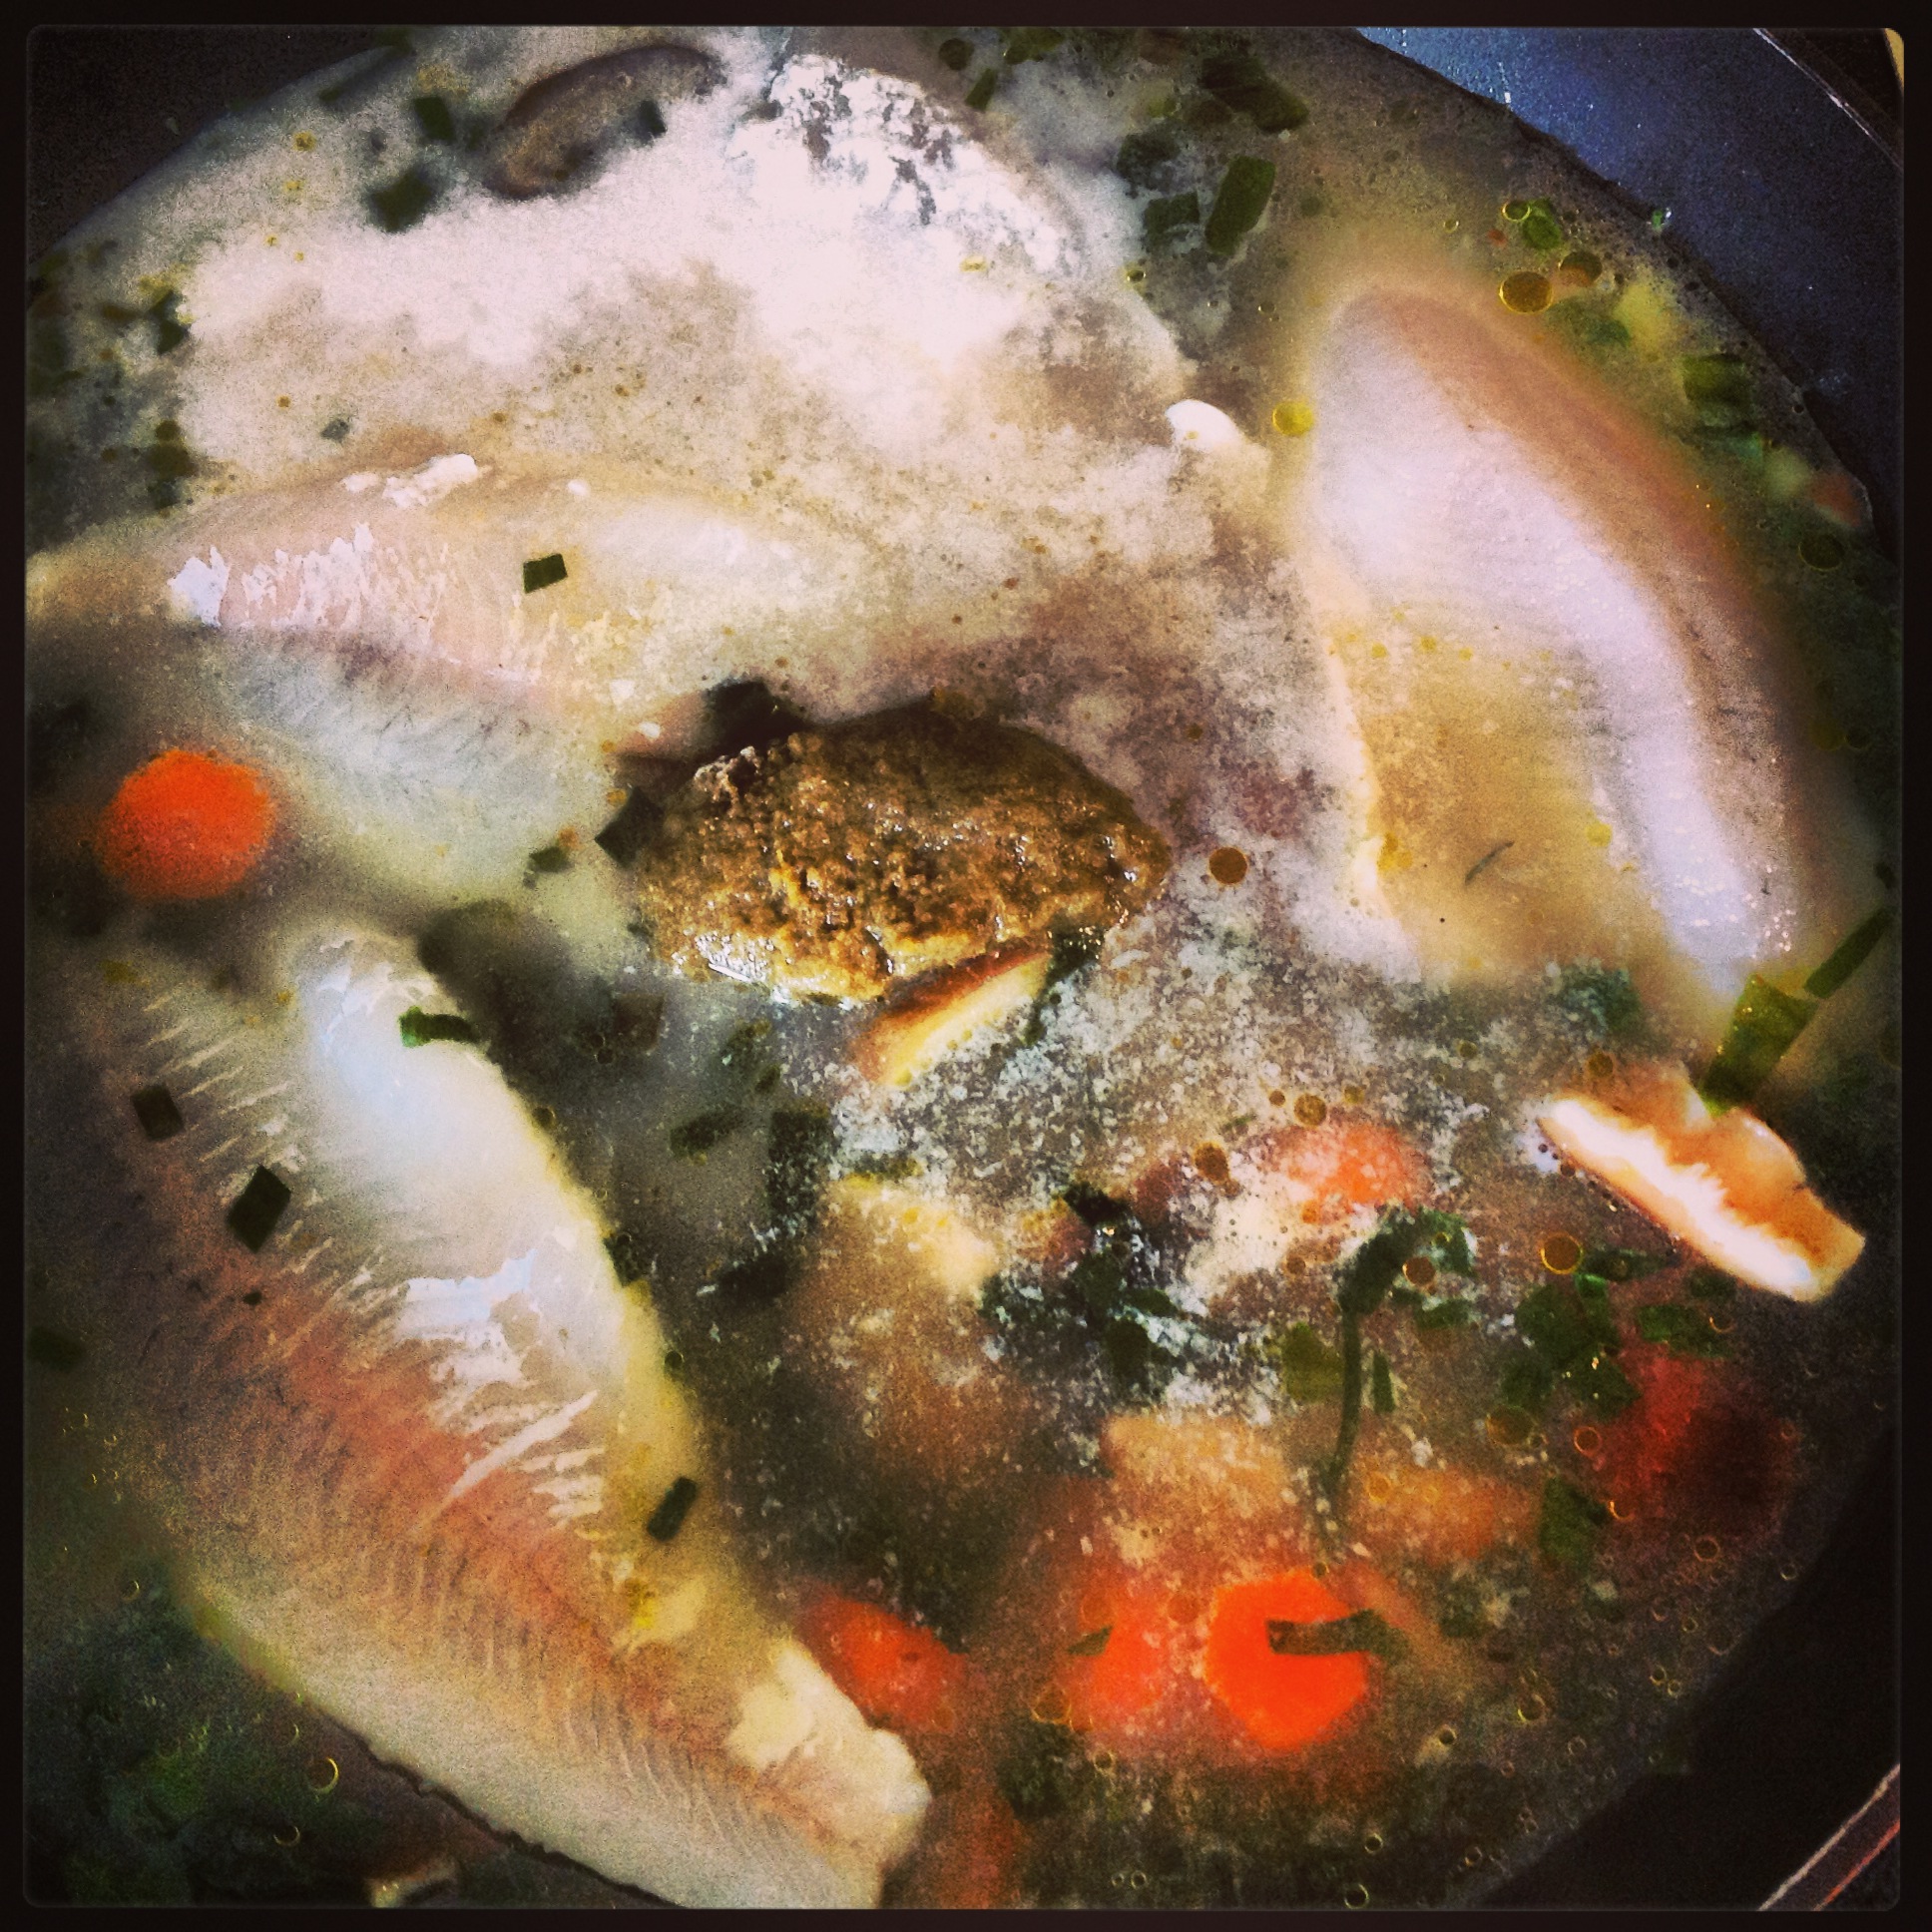
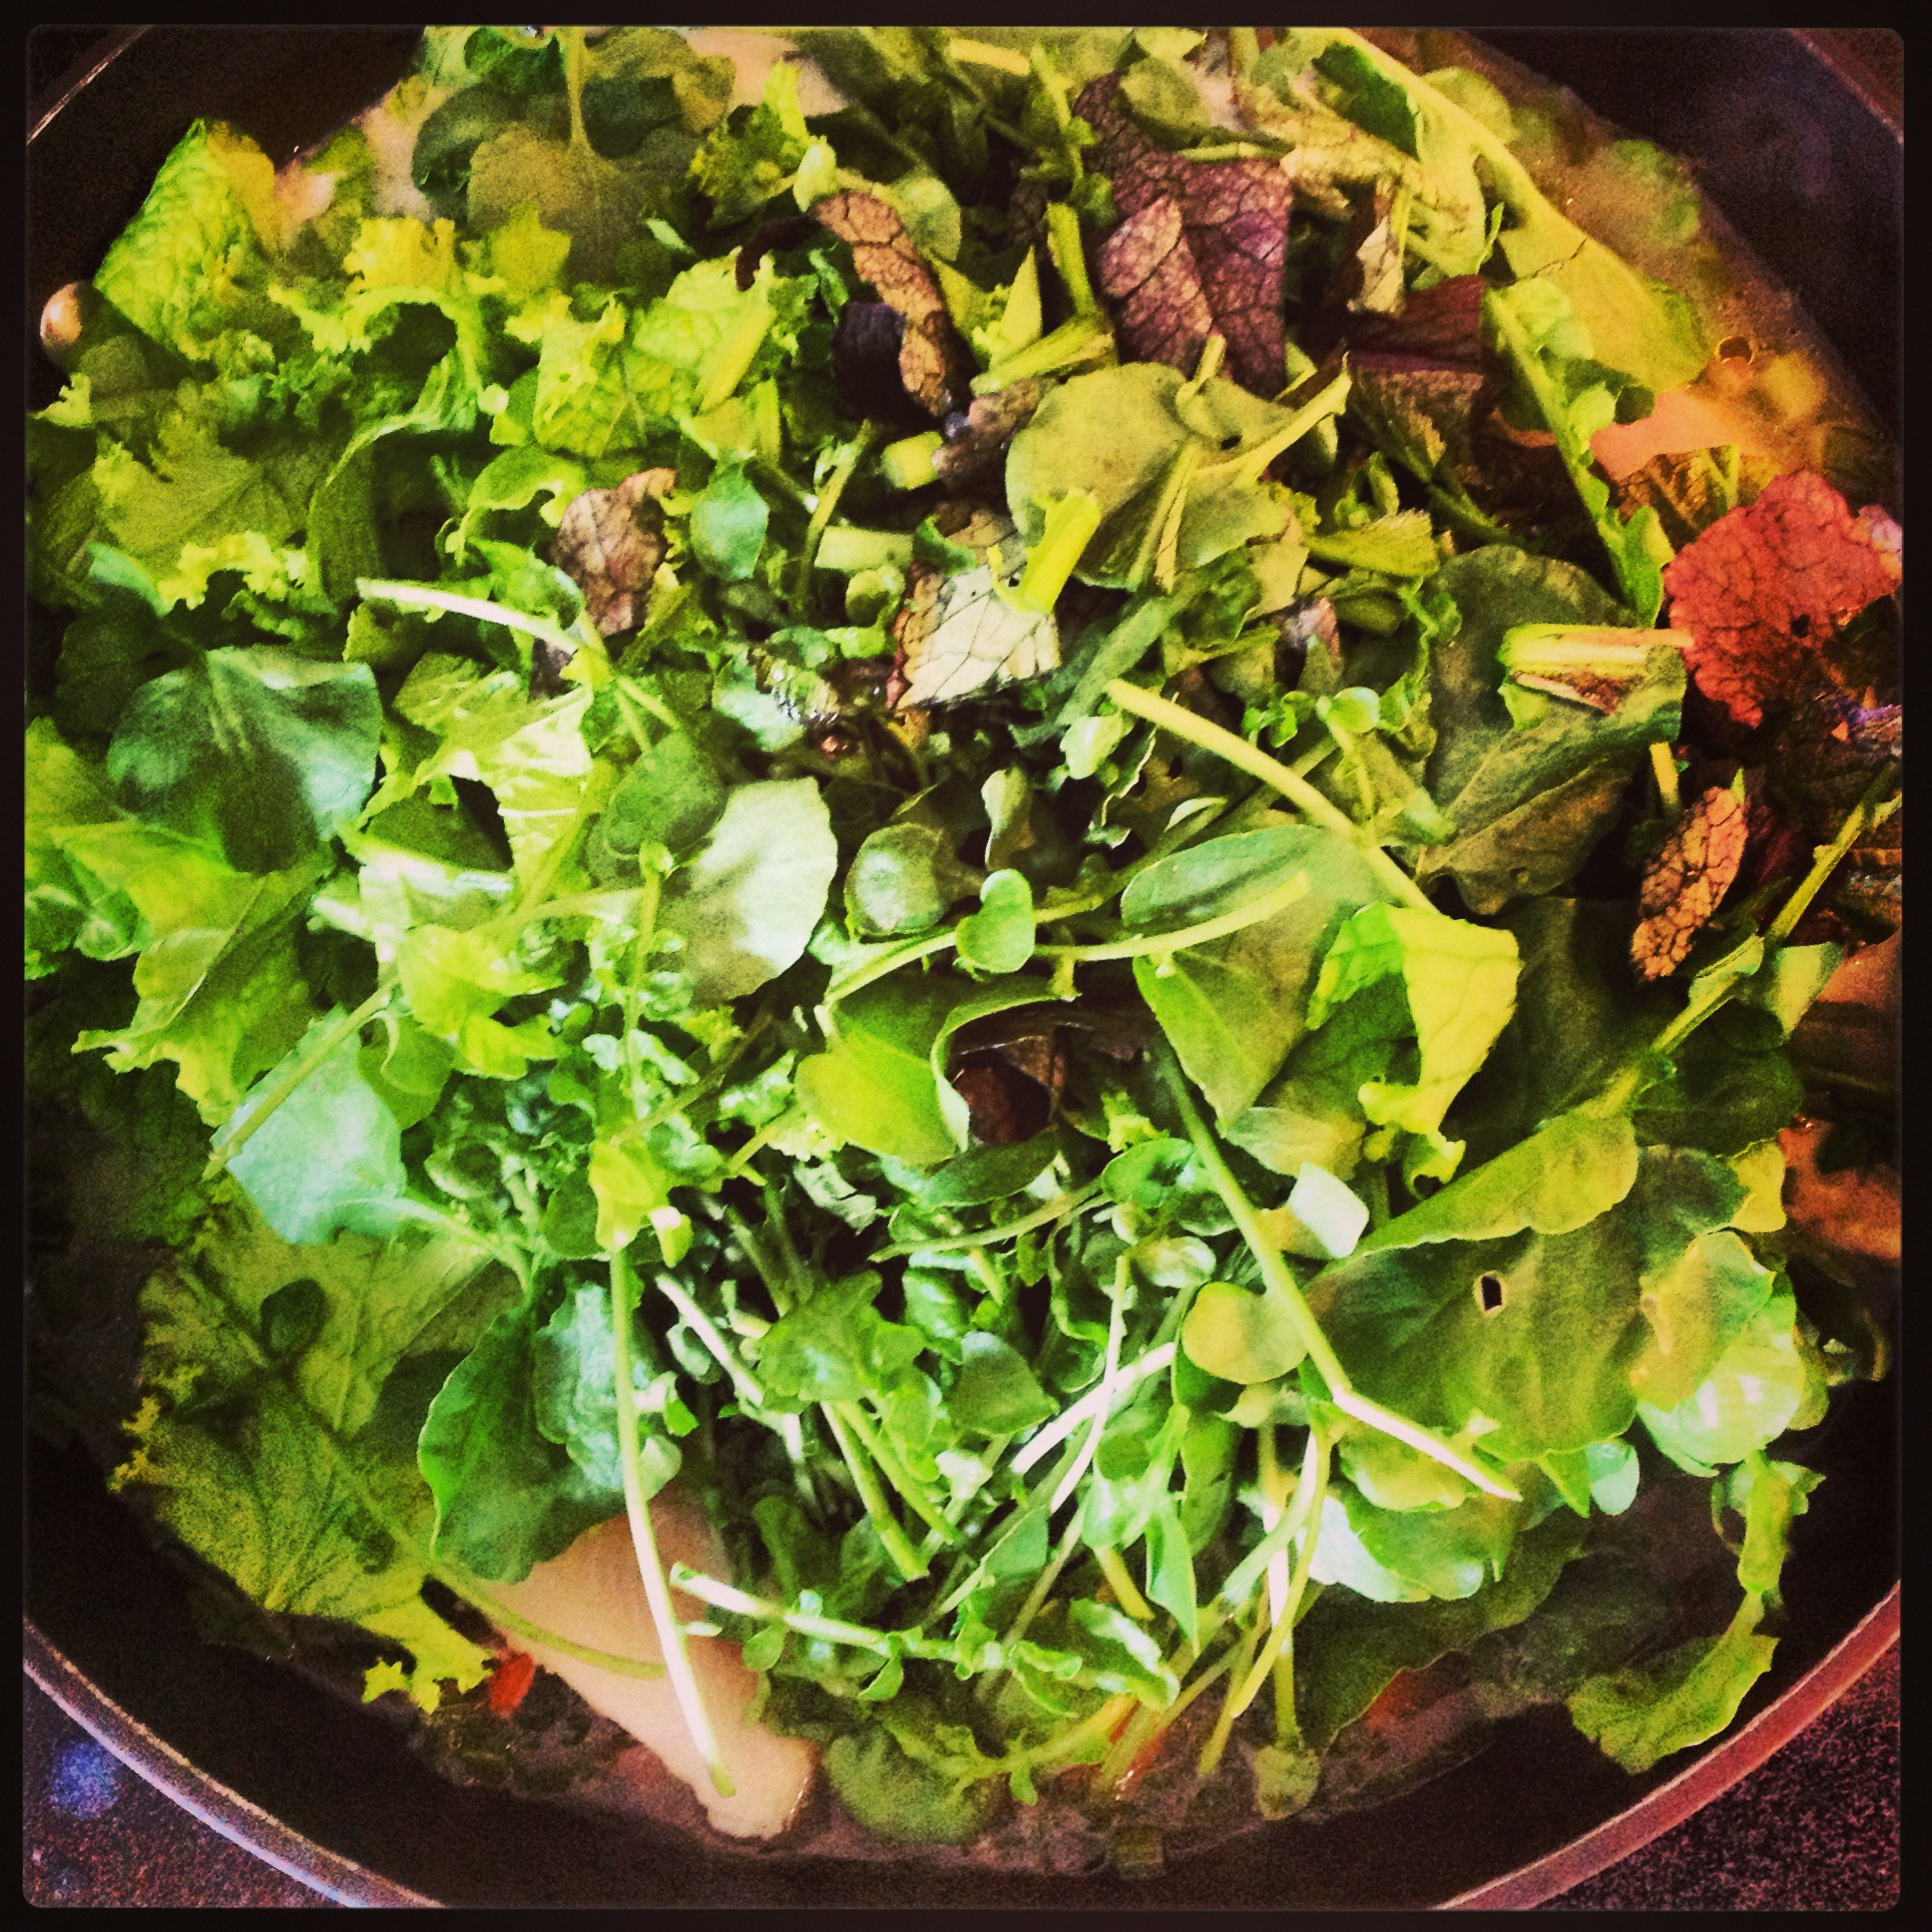
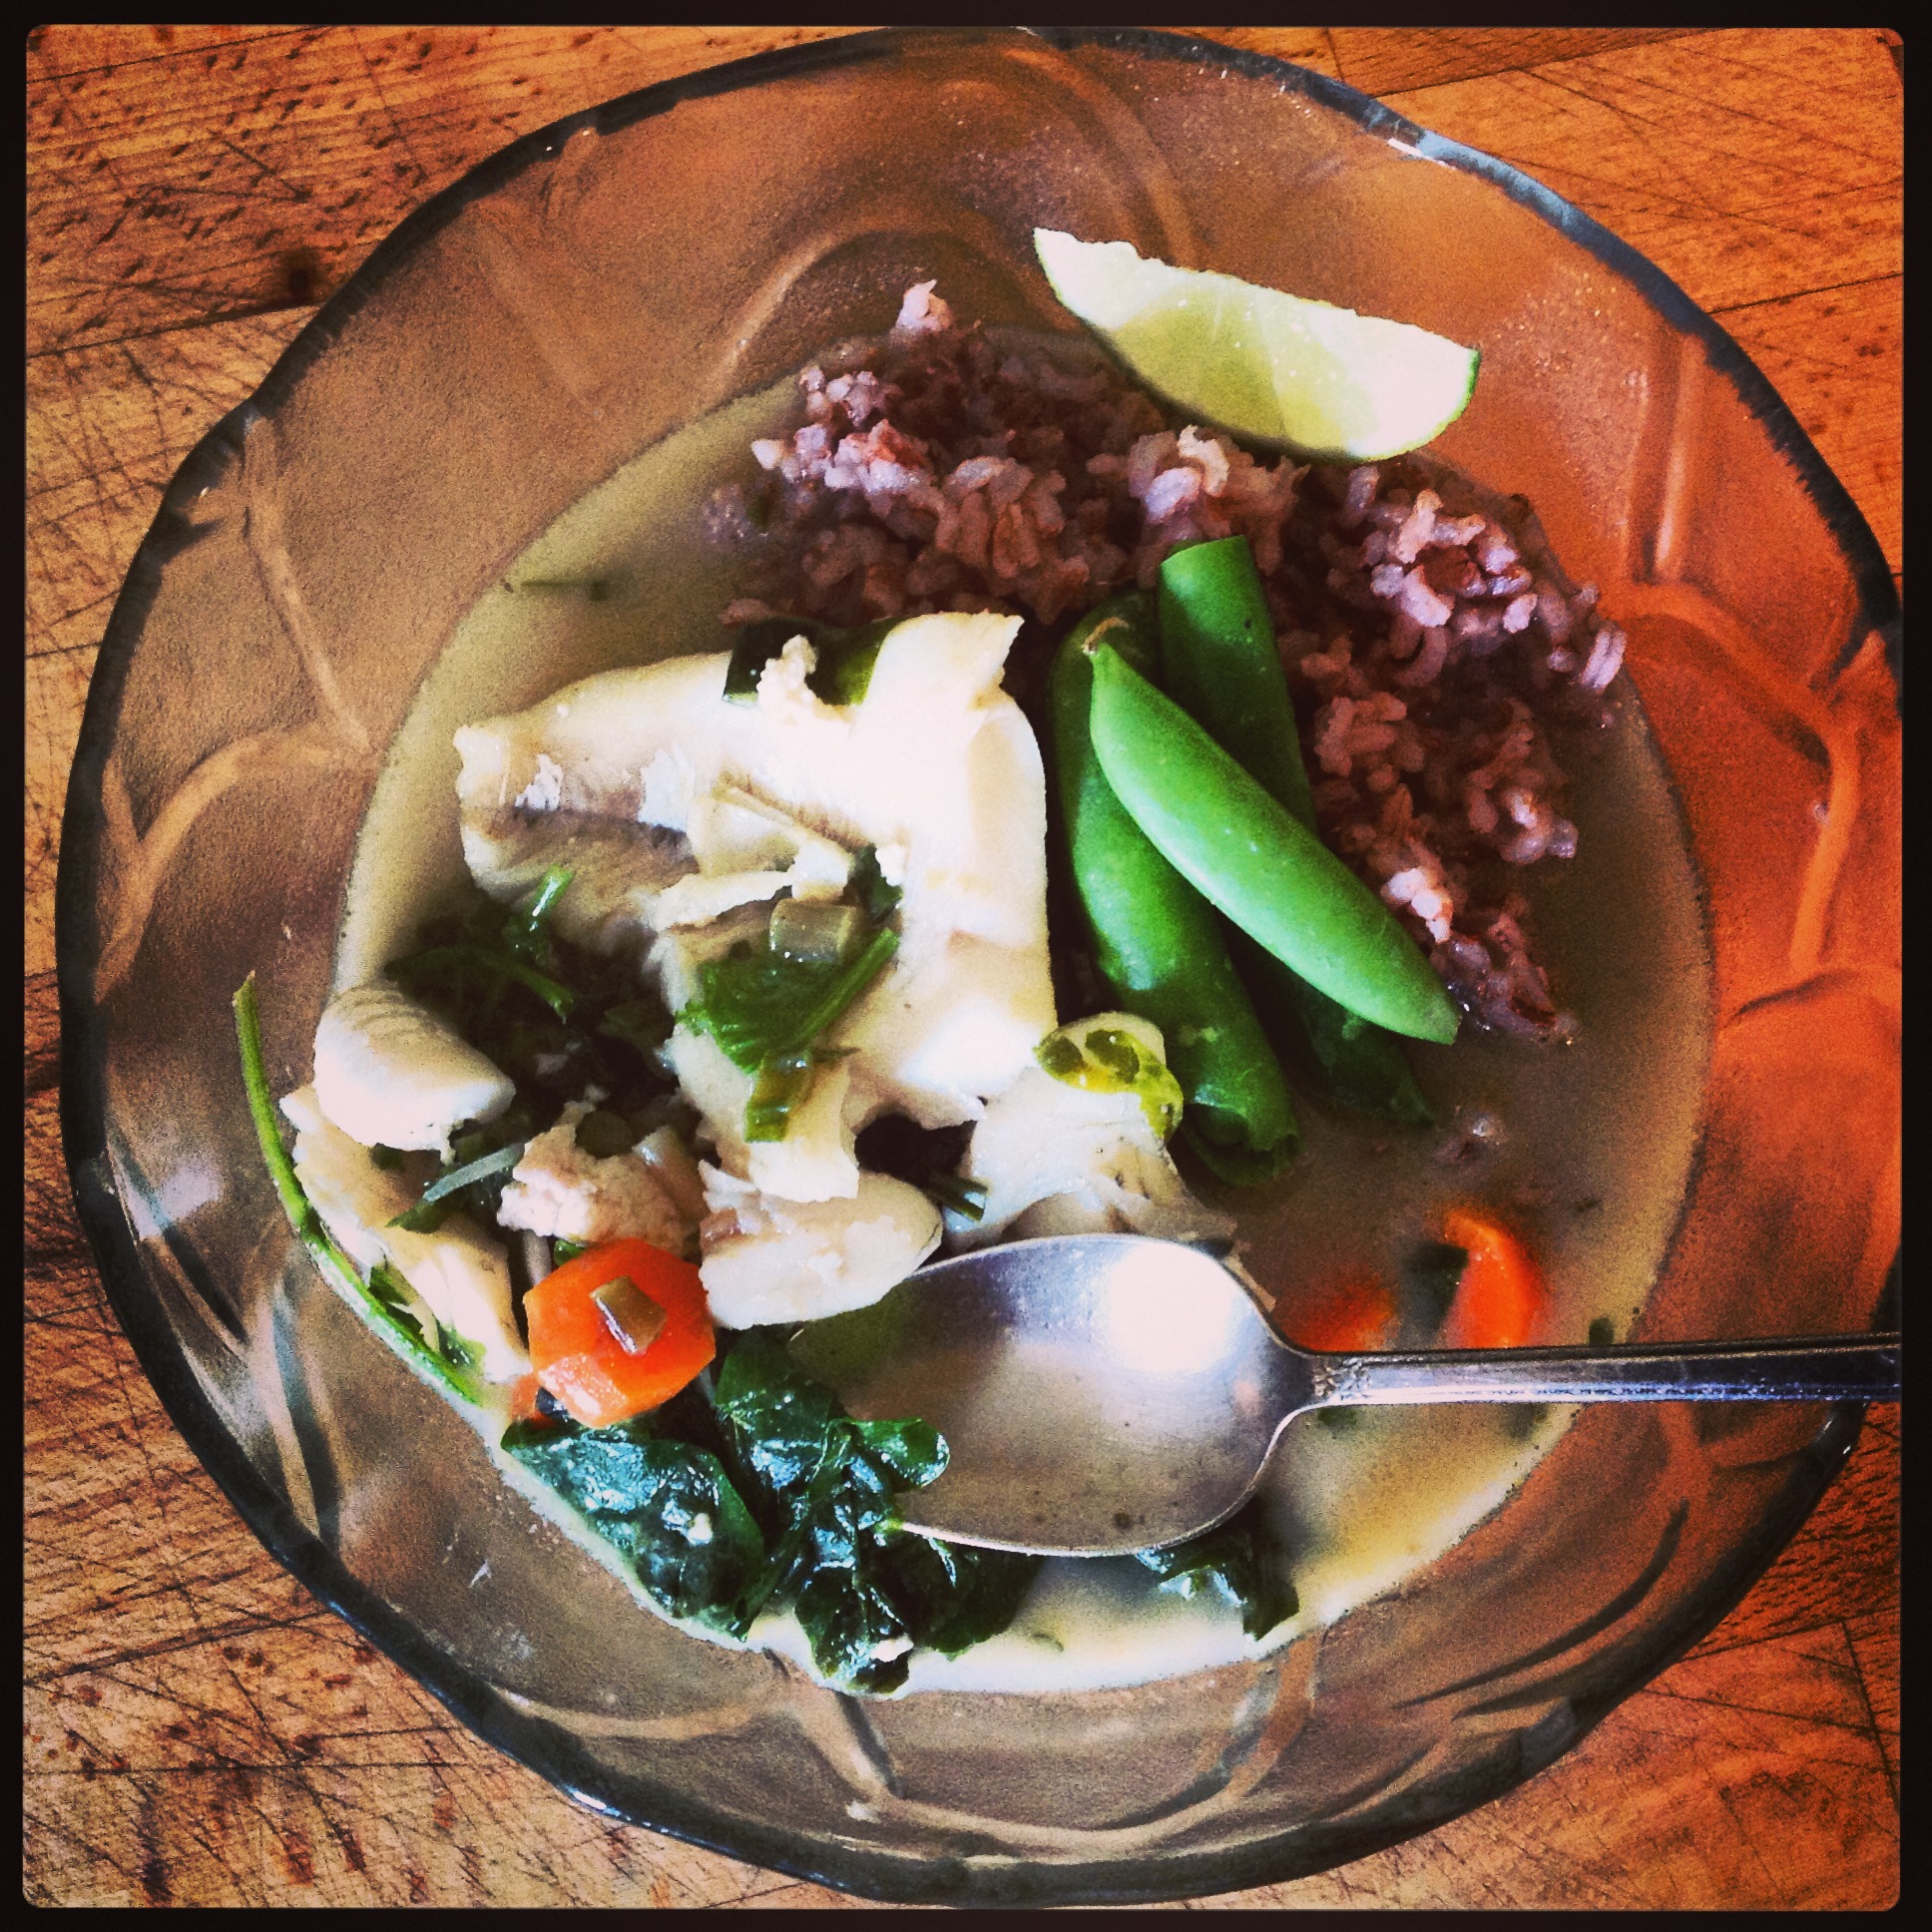
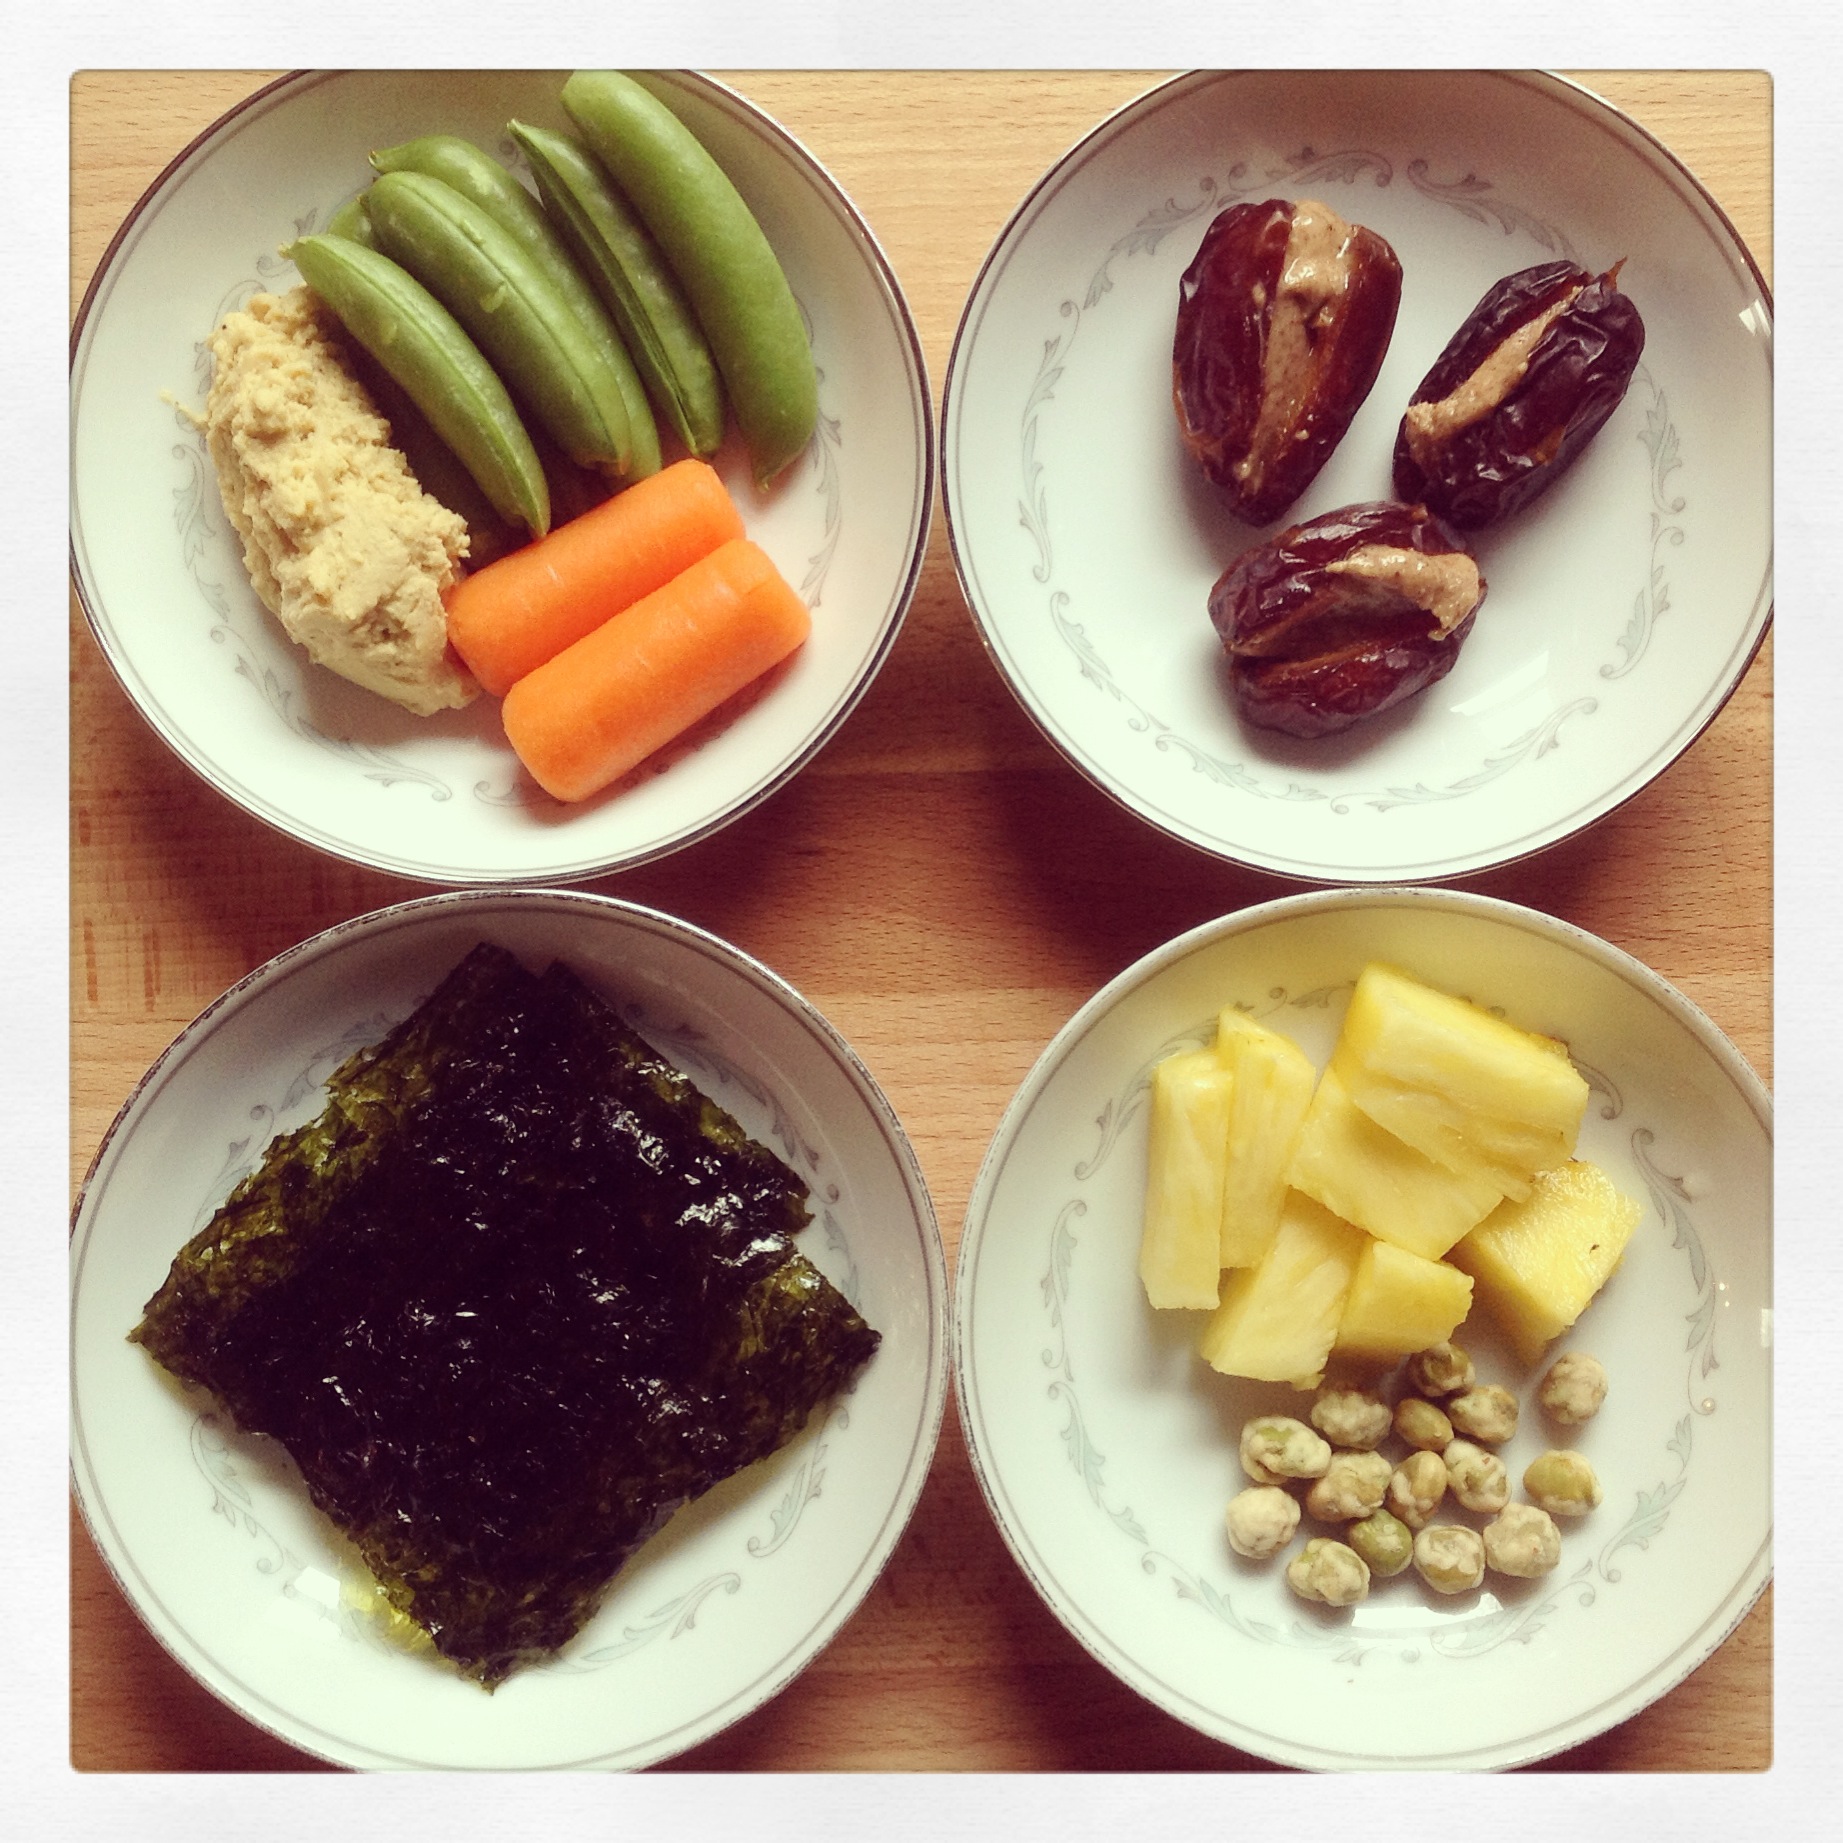
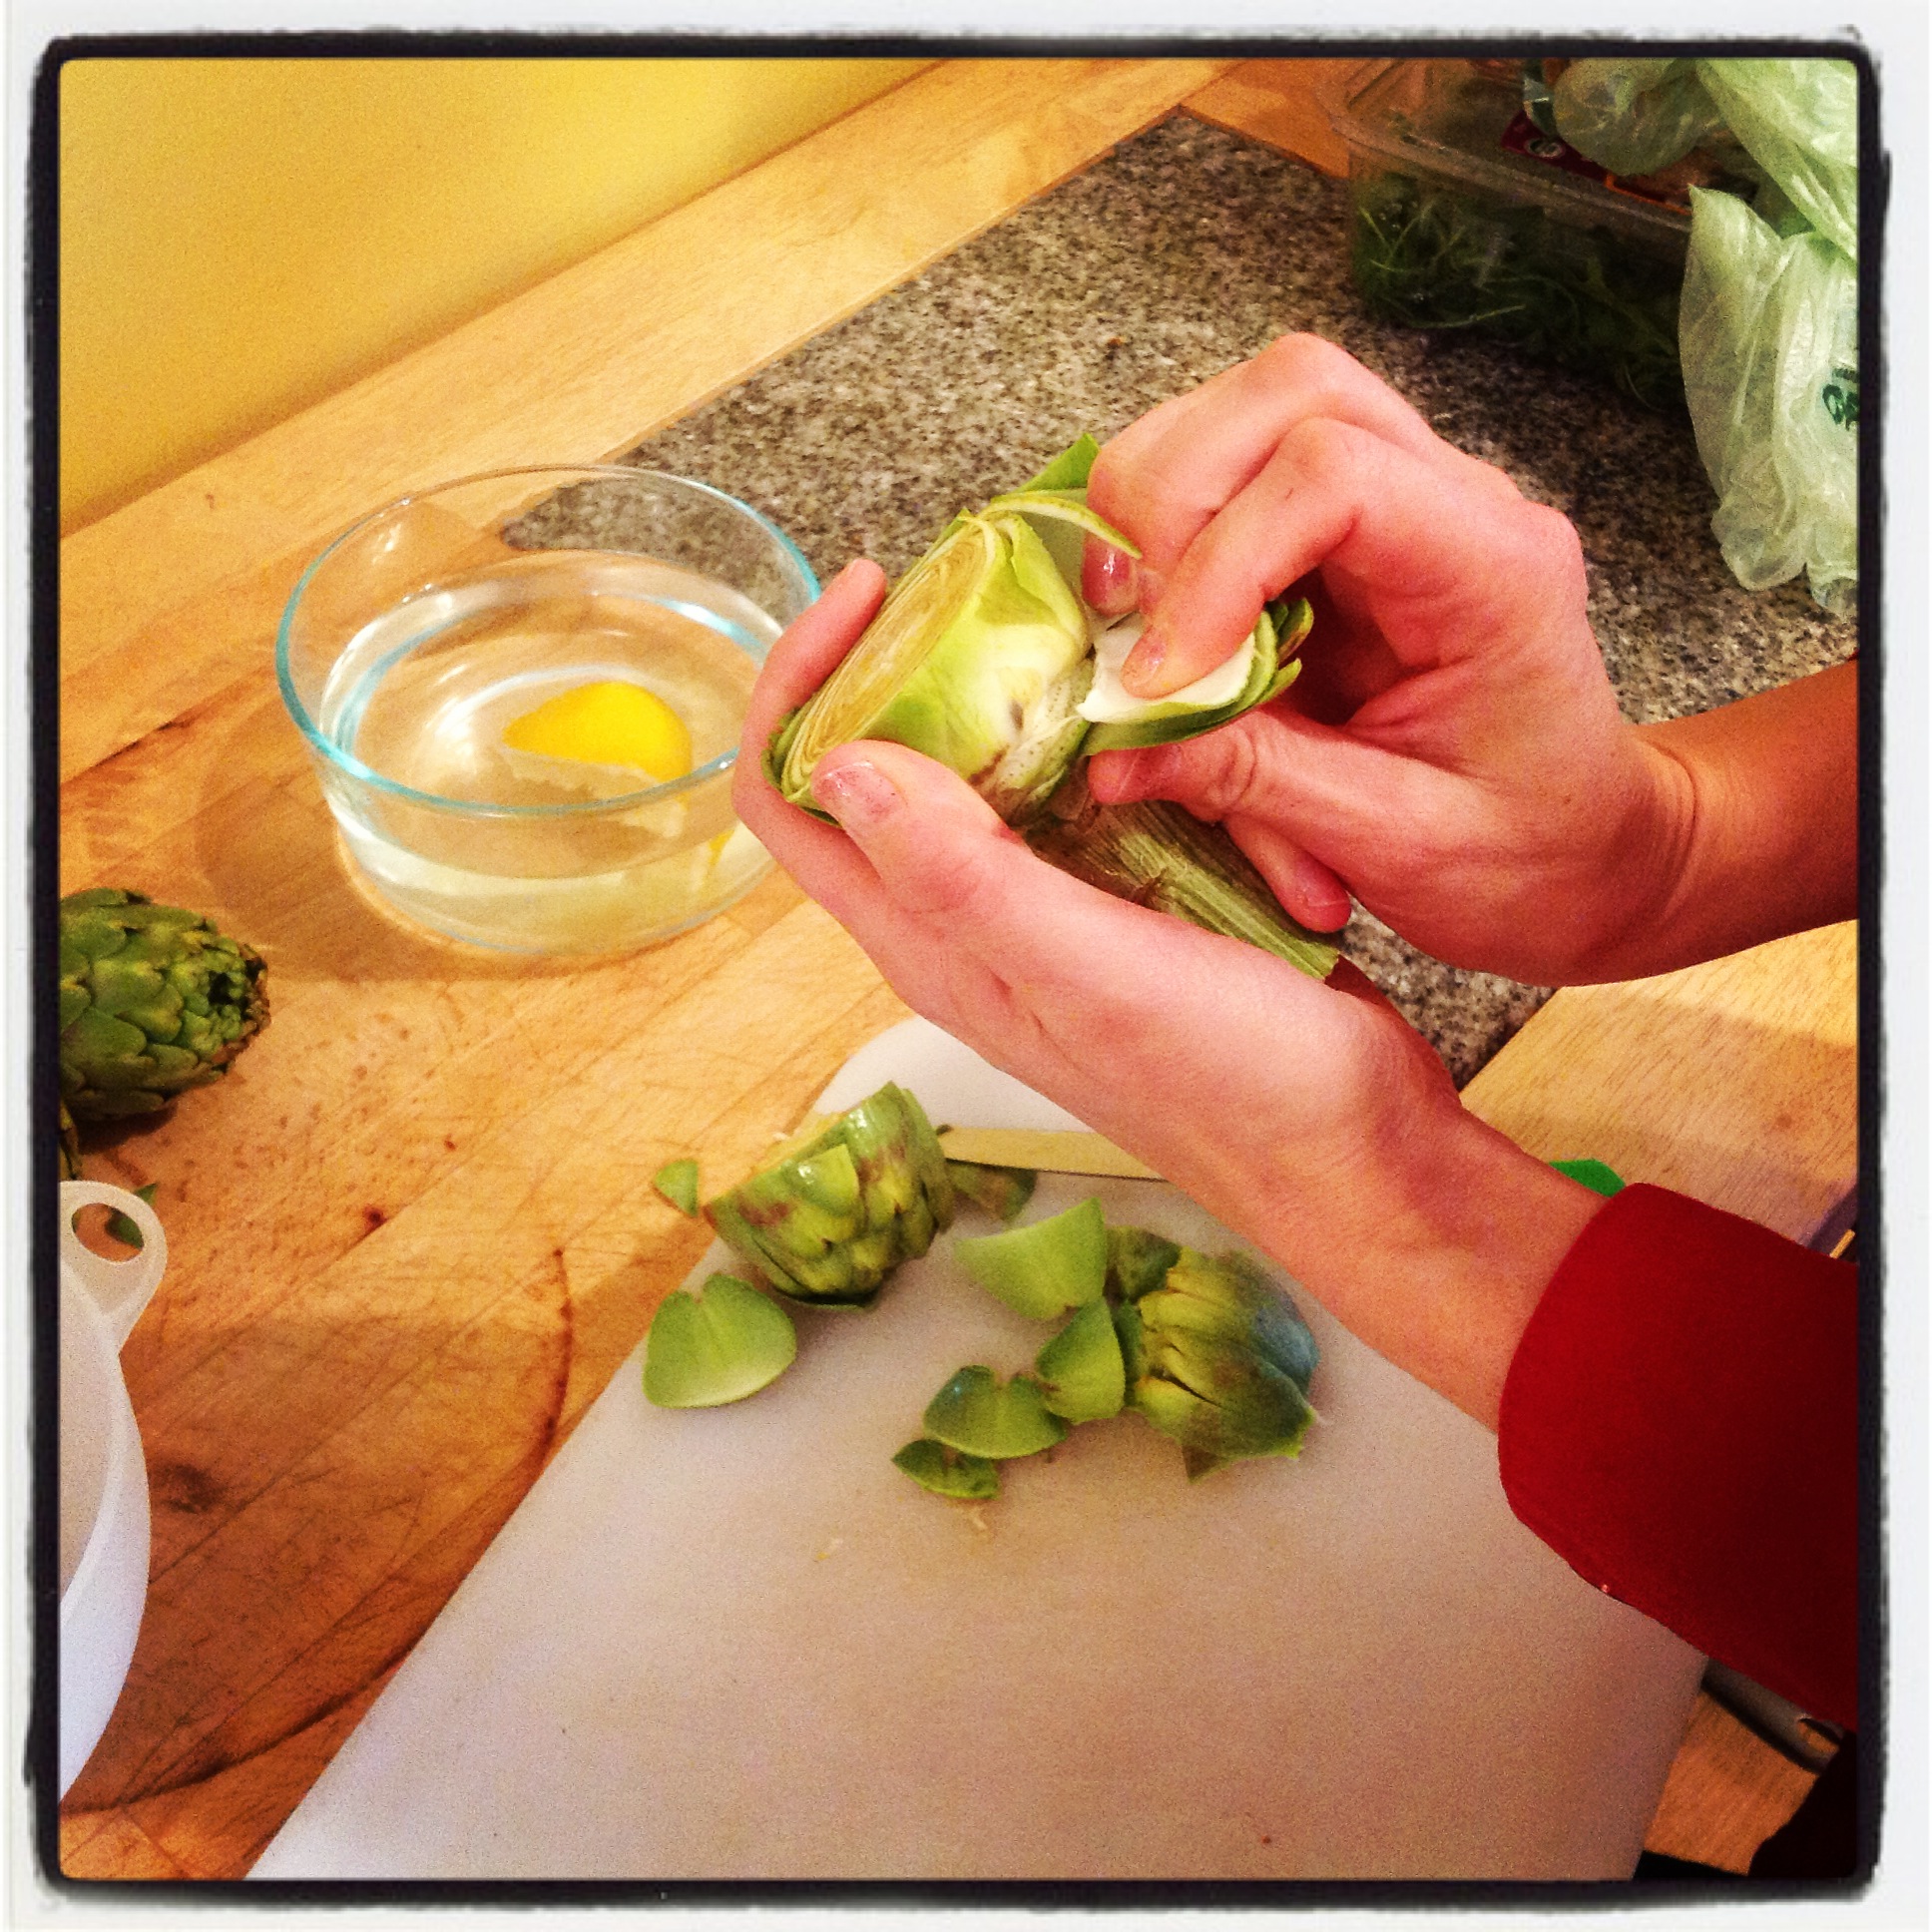
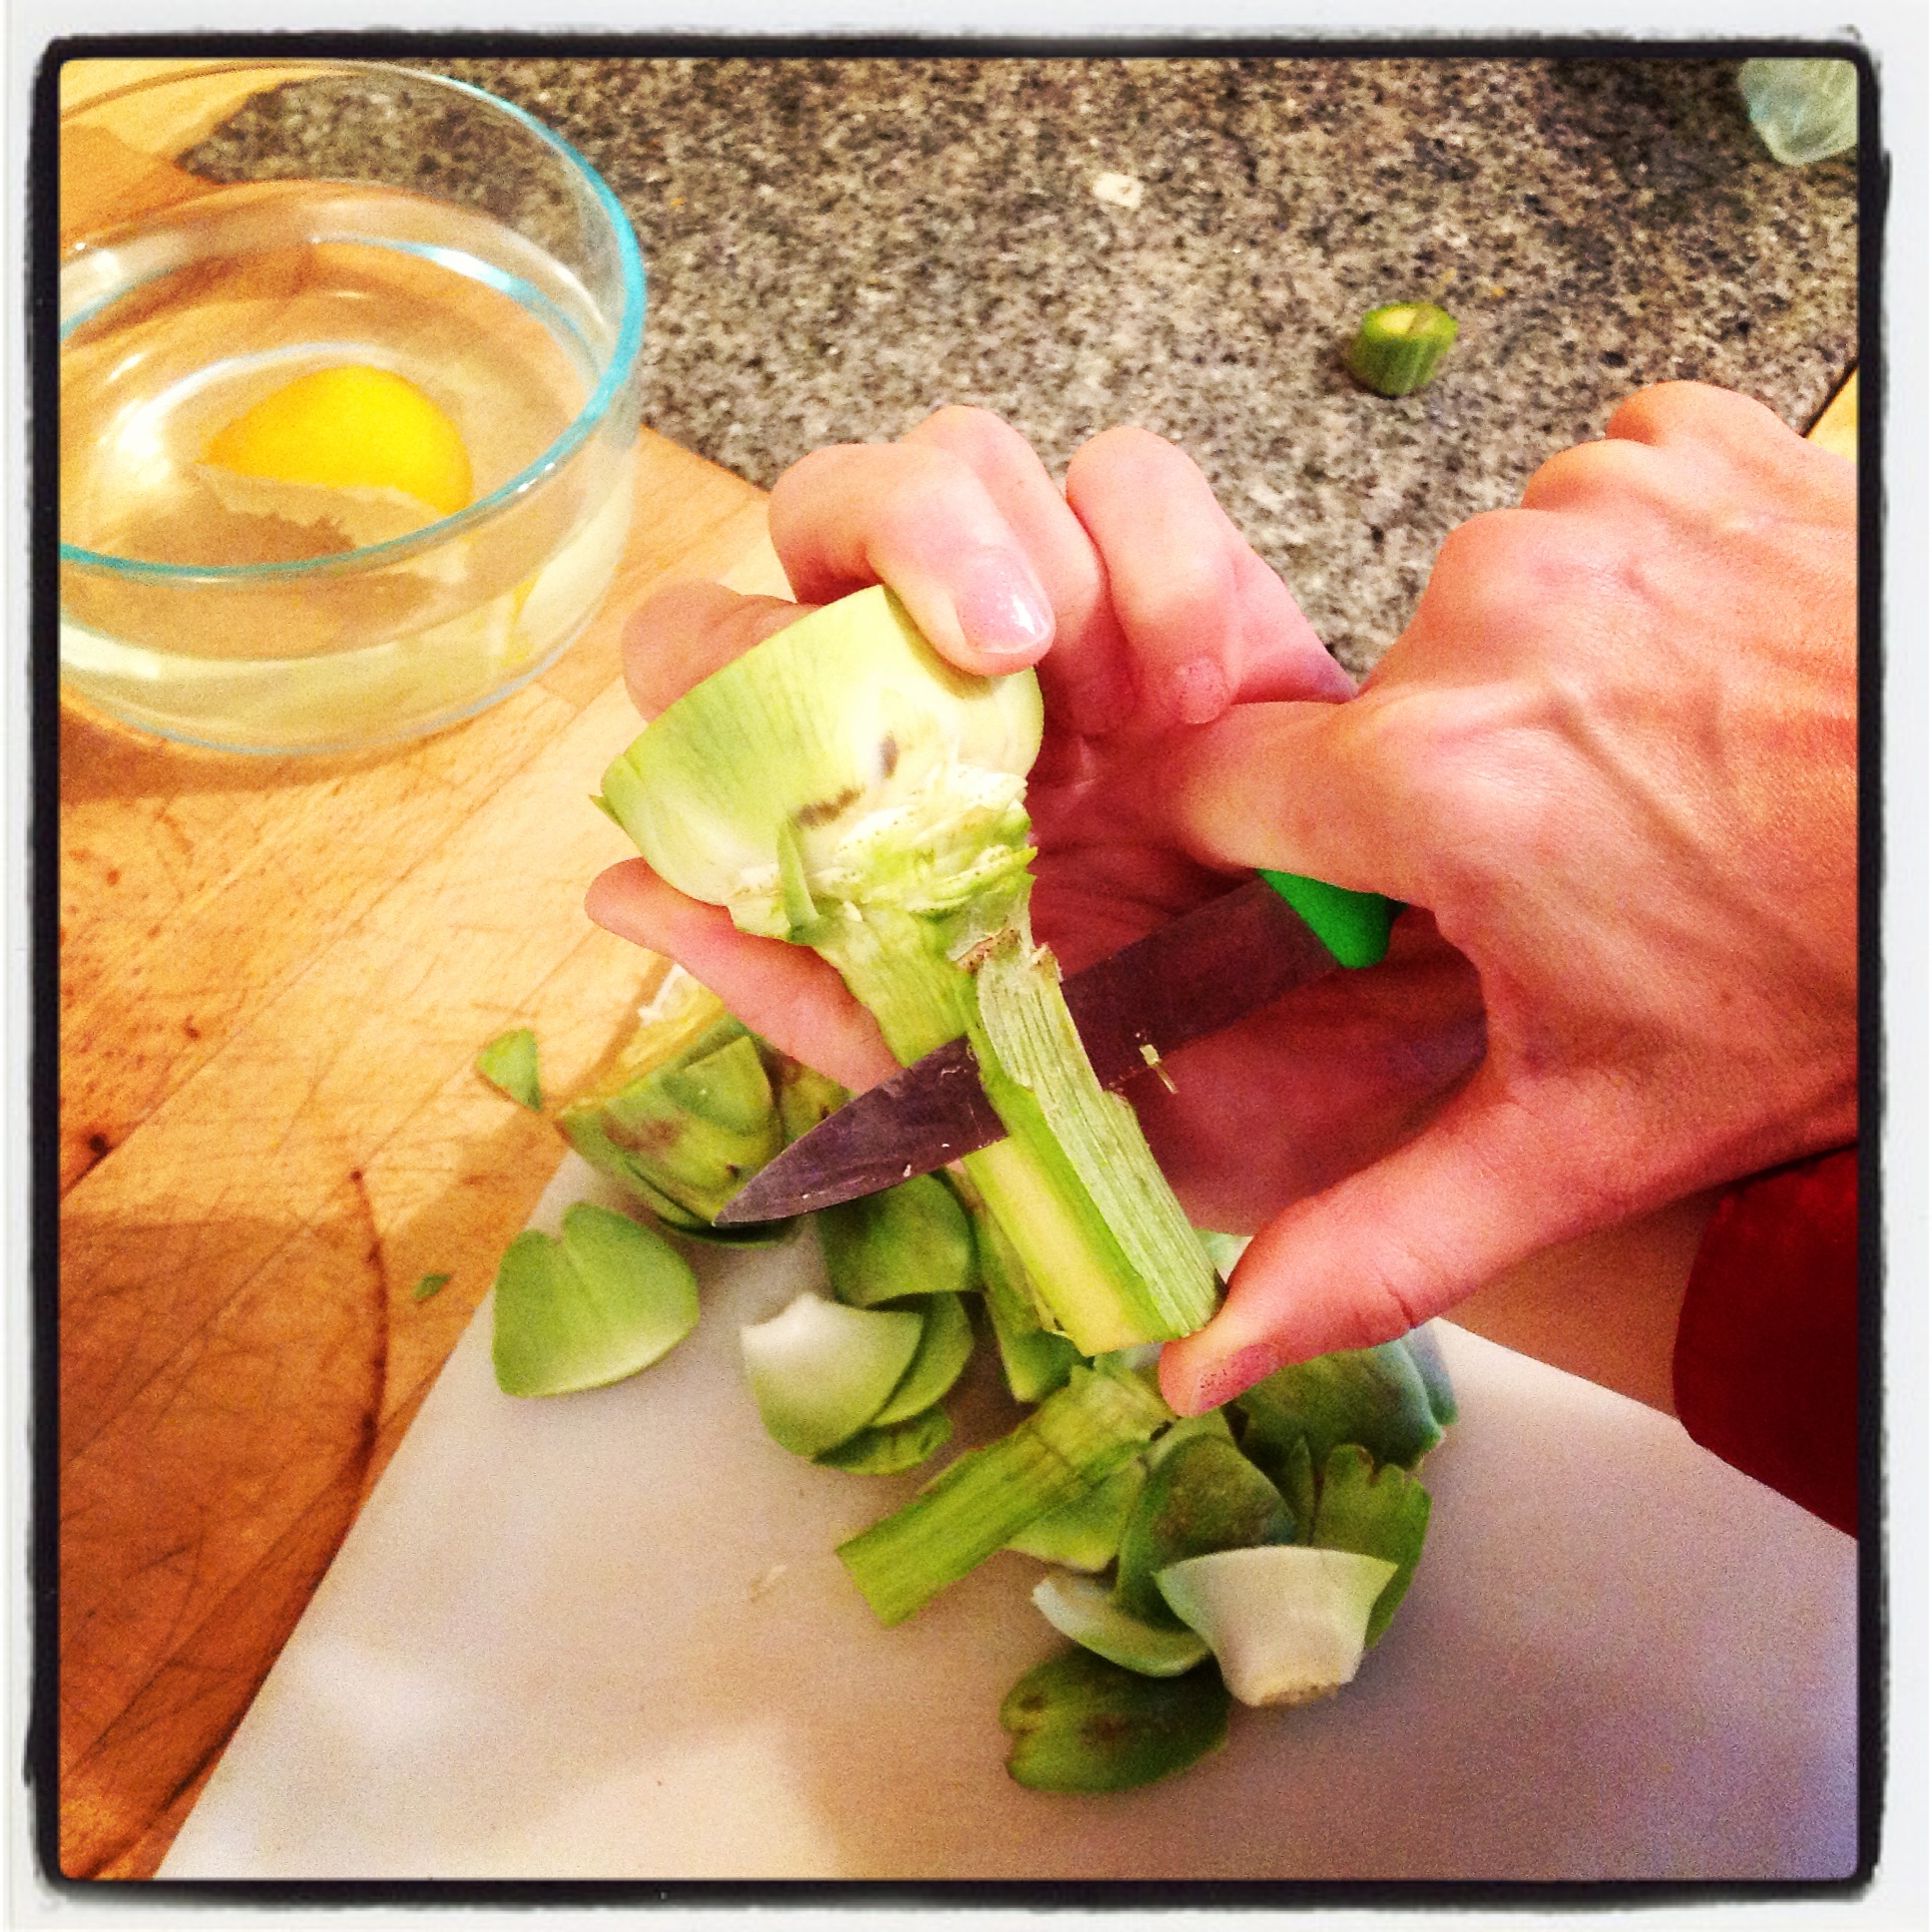
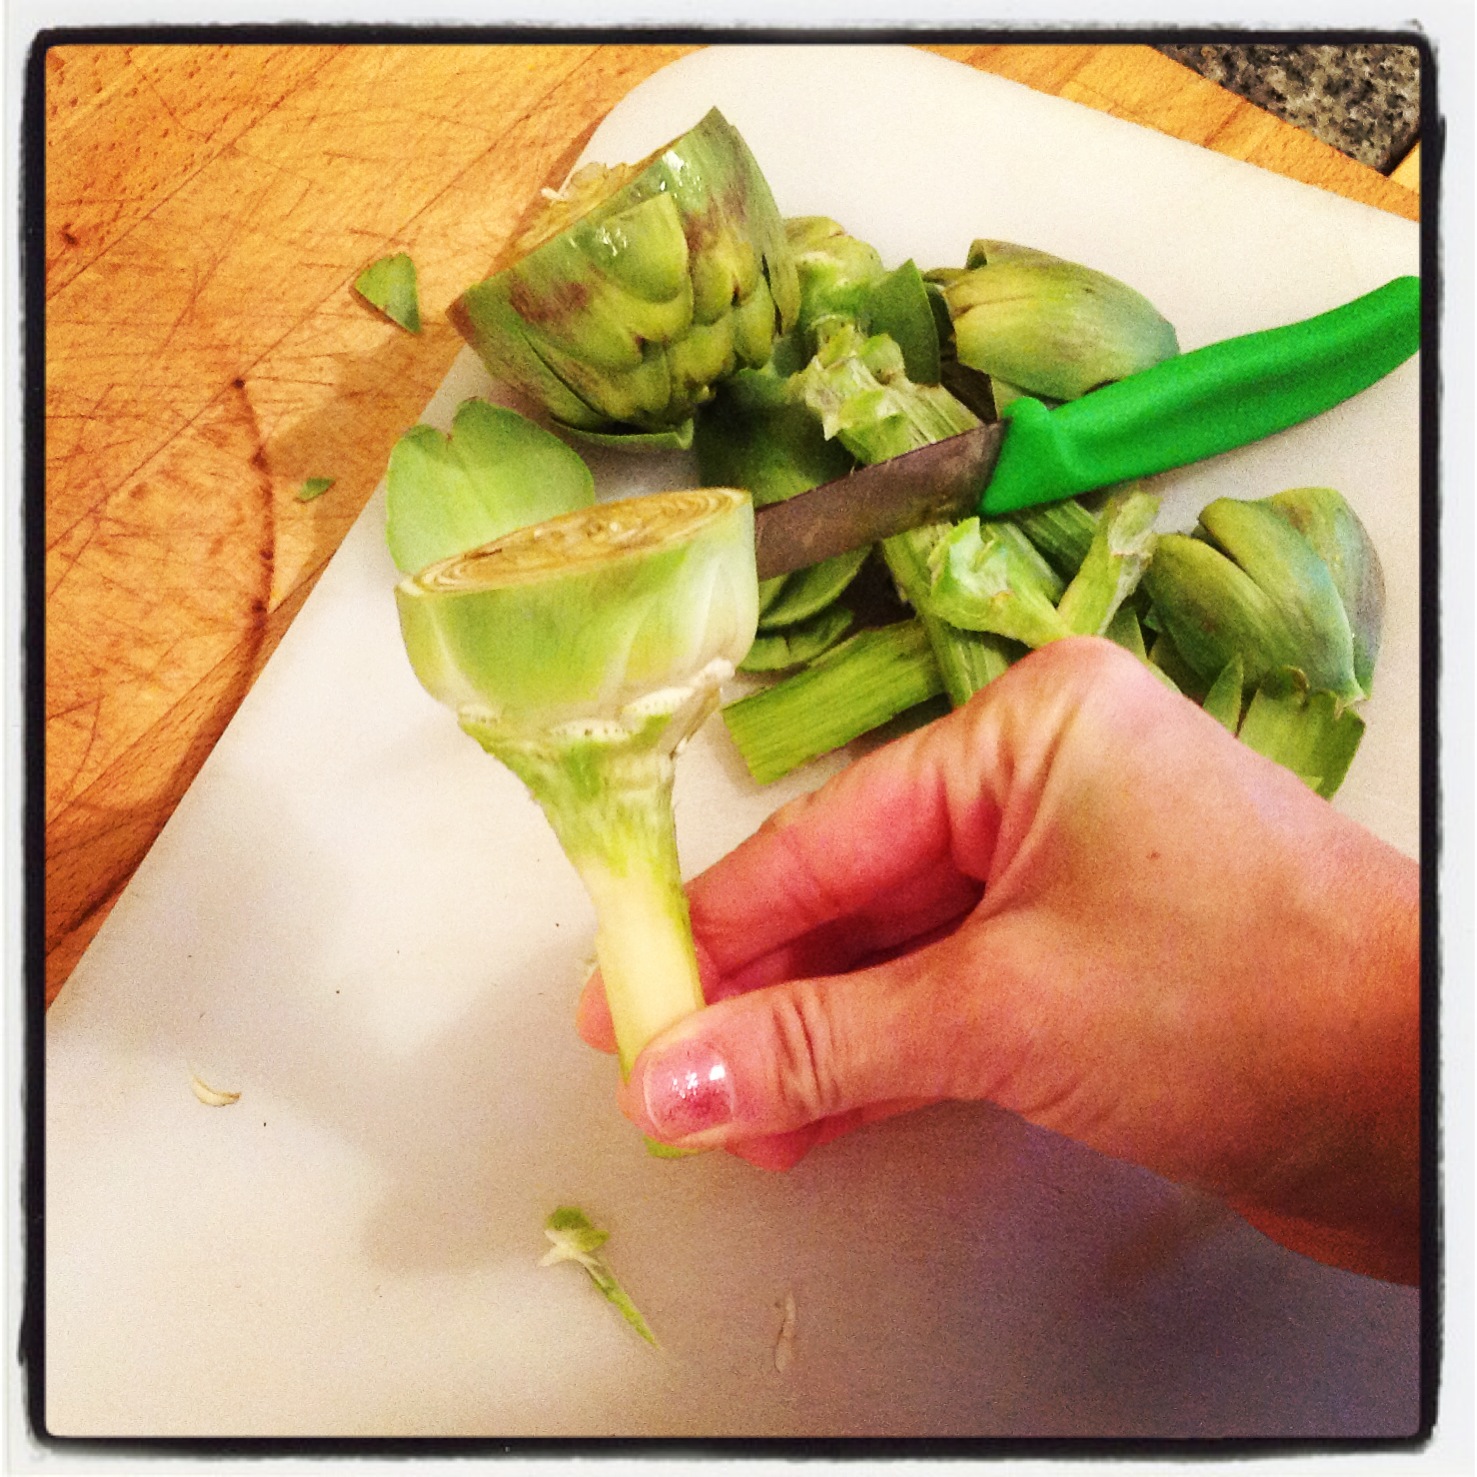
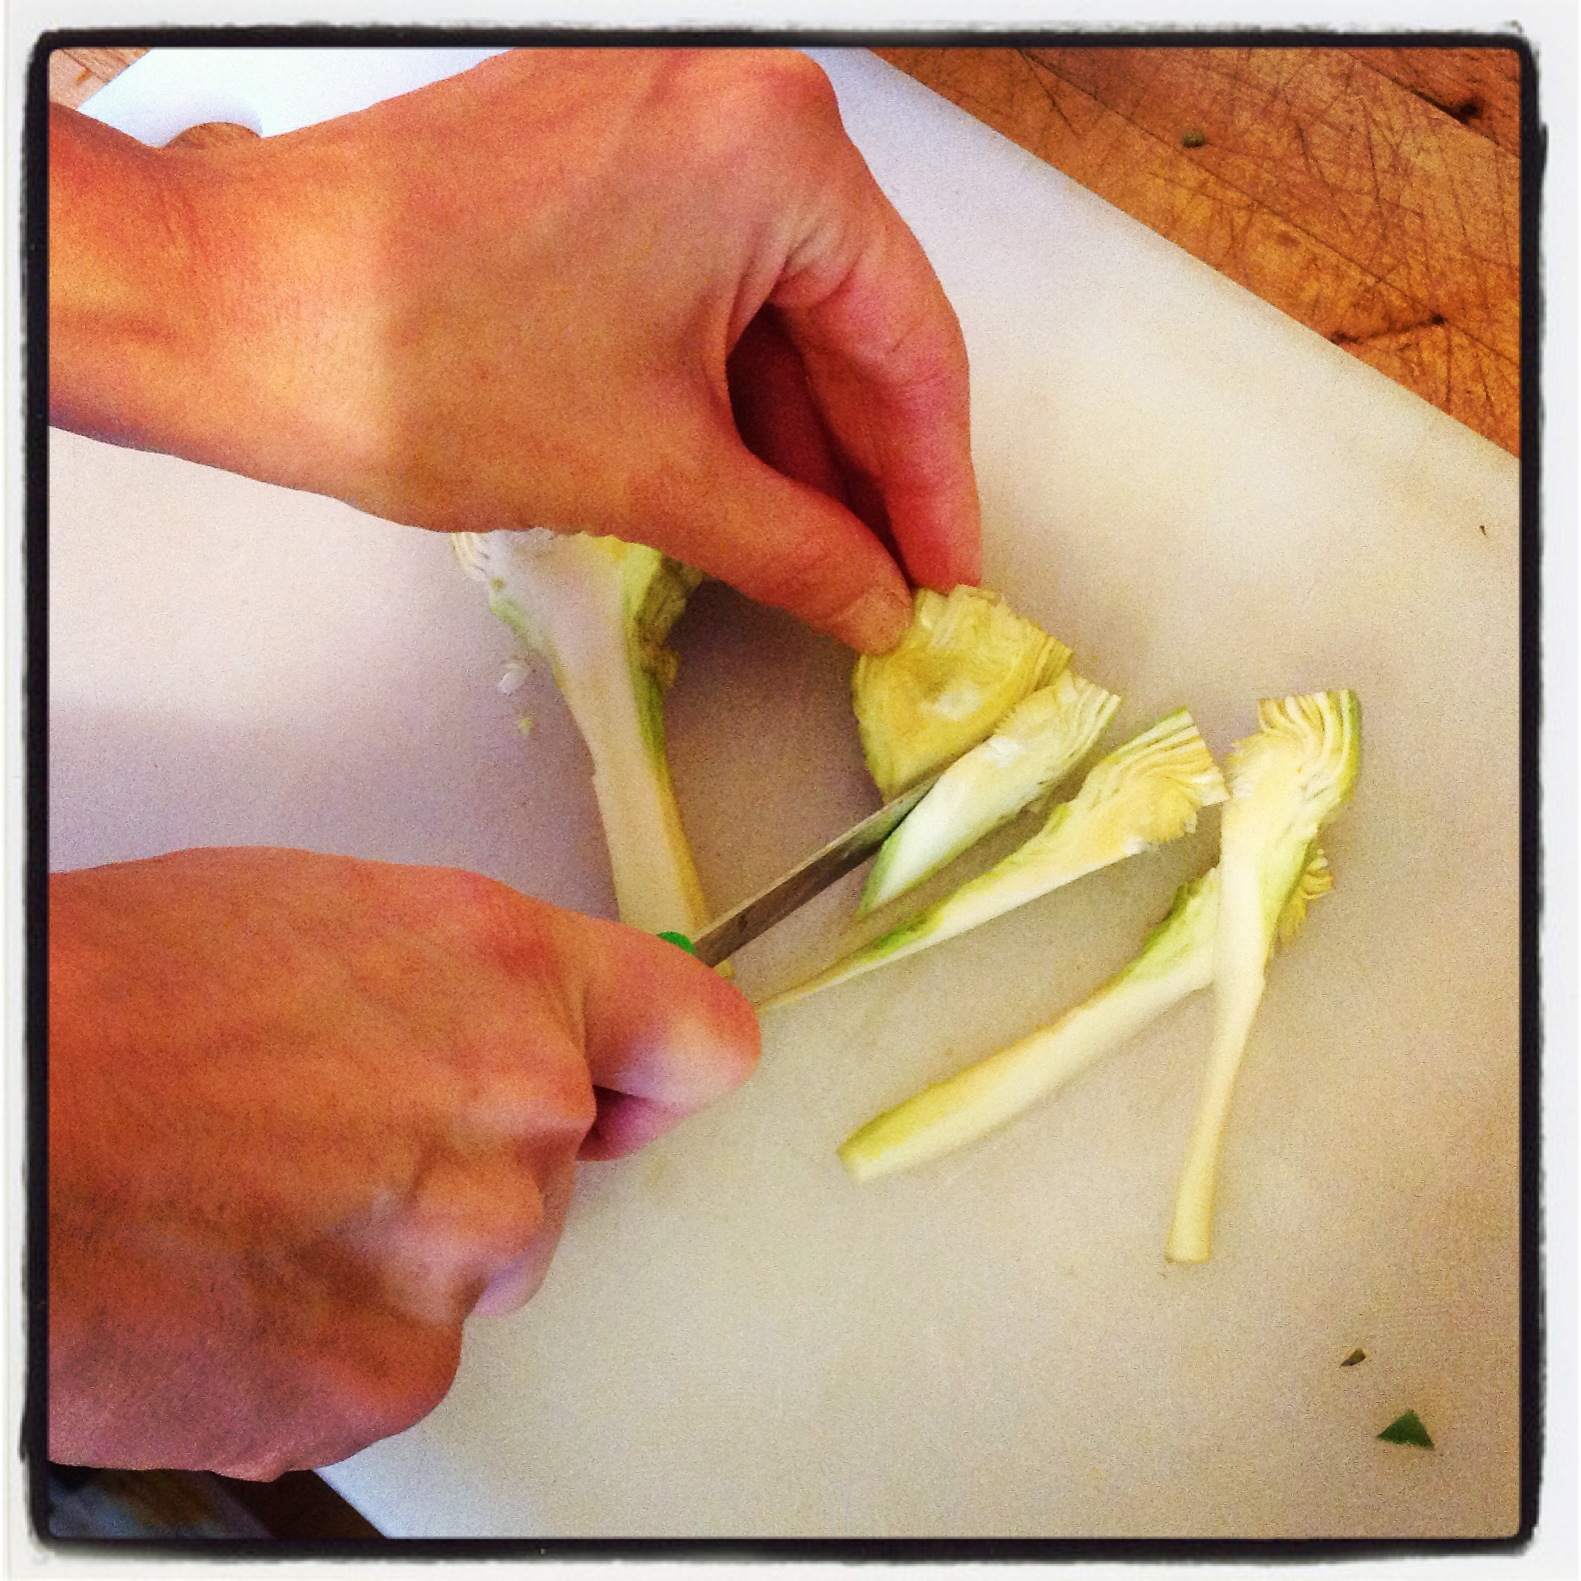
1)      What simple action can I take right now toward better health?  This is a simple act that can be completed on a daily basis and takes anywhere between 5 seconds and 30 seconds to accomplish. It includes things like taking a fish oil supplement, taking a multi-vitamin, drinking a glass of water, flossing your teeth, eating a vegetable (go to the fridge right now and eat it), preparing a cup of tea, saying a prayer…you get the idea. These are simple actions that take very little time, are easy to fit into your day, and if you are intentional about them, will ground you, relax you, and provide focus and clarity.

2)      What daily or weekly healthy practice is grounding me? This is a daily or weekly activity that takes at least 30 minutes of your time and is something you are practicing.  It is a “practice” that you commit to for the unforeseeable future that is grounding, provides focus and is fundamentally healthy.  You may choose to shift gears and pick up a different practice at any point in time, but the idea is to always have something that you are intentionally practicing.  These are practices like yoga, playing a musical instrument, meditating, working out, running, walking, cooking, gardening, reading, making arts or crafts, doing projects around the house, cleaning your house, or working on your wood carving.

3)      What primary area of my life do I need and want to focus on right now?  The idea here is that if we are truly in touch with ourselves and the life we are living, we are aware of the primary areas of our lives that are most important because they are conductors for our energy flow and life source.  These are areas such as a meaningful spiritual practice, an inspiring career, regular and enjoyable physical activity, education, health and wellness, flexible yet stable finances, and honest and open relationships that feed your soul and your hunger for living!

Albert Einstein said, “Everything is energy and that’s all there is to it. Match the frequency of the reality you want and you cannot help but get that reality. It can be no other way. This is not philosophy. This is physics.”

By tying together your daily activities with the primary areas of your life that you want to direct your energy toward, you cannot help but get you want.  This applies to ALL your daily activities, and focusing on your health is a fundamental way to get you in the right frame of mind about what those activities should be.

Here’s where I am….1) taking my fish oil supplement; 2) my yoga practice; 3) My spirituality

All my other activities are grounded by this as I fill in the rest of my daily activities toward my overall vision of who I want to be in this world.

What’s grounding you toward what you want?

The Incredible Edible Egg Oatmeal

IMG_1584Sometimes you need to write a blog post because when you search the internet for the topic you want more information about, you don’t find exactly what you are looking for.  A while ago now my mother-in-law told me about mixing egg into oatmeal to add protein and make it more sustaining.  I thought it was a great idea at the time but didn’t try it myself until recently.  Like so many things that we “finally” get around to doing, this is a huge game-changer for me.  As a “protein-type”, I need more protein and healthy fat in my daily diet. I have found that some of this protein needs to come from animals if I am to feel good.  Eggs, chicken, pork, beef, bison, venison, fish, and seafood are all part of my weekly menu and even a very small amount of these proteins, in combination with healthy carbohydrates (vegetables, nuts, seeds, legumes and whole grains) will ensure that I’m not starving two hours after I eat and that I feel good and maintain my ideal weight.

I used to make steel cut oats with nuts, fruit, and a little fat (coconut oil or butter) and love it….but it didn’t sustain me through the morning.  By 10:30am my stomach was rumbling and I needed a snack.

With the addition of egg to my oatmeal, those days are gone. 

In fact, as I write this blog post my stomach is happily content having eating a bowl of this super-charged oatmeal for breakfast four hours ago.

So, how does one add egg to oatmeal?  The first thing I should say is, think pudding, NOT scrambled eggs.  Traditional pudding is made by tempering eggs into hot milk.  Eggs are tempered into liquid and used as thickeners in all kinds of savory cooking also, most often in sauces or soups. The classic greek avgolemono soup is a great example of the use of eggs to create a creamy soup. I like this recipe for avgolemono soup because it uses brown rice.

All these types of recipes involve slowly heating beaten eggs with hot liquid so that they thicken the mixture rather than turn to scrambled eggs within the mixture.

So how do you temper an egg into oatmeal? 

1) Here’s the Basic Recipe for Oatmeal with Tempered Egg

One cup steel cut oats
4 ½ cups water if using slow cooker, 3 cups of water if making on stovetop
3 eggs

2) Either cook these proportions of oatmeal and water in a slow cooker on “keep warm” or the lowest setting overnight, on the next lowest setting, usually “low” for 3-4 hours (say, after work into your evening) or on the stove top for 45 minutes on low heat, stirring every 10 minutes or so.

IMG_15782) When oatmeal is finished cooking, it should be at a consistency at which you can ladle it into a bowl (not too clumpy and thick, but not too thin and gruel-like).  If it’s too thick add some water and reheat. If it’s too thin adjust your recipe for next time.

IMG_15803) Beat the eggs in a mixing bowl.  Add a small amount of steaming hot oatmeal (half cup or so) to the bowl and quickly whisk into the eggs.  Add another small amount (another half cup) and whisk into the mixture.  Continue doing this about 2 to 3 more times until you’ve got a very creamy looking egg mixture with more oatmeal than egg.

IMG_1581IMG_15824) Dump the whole mixture back into your original pan of oatmeal, whisk thoroughly, and you are done.  You’ve got a creamy, “pudding-like” consistency and you’re good to go.  I like to make my oatmeal in a slow cooker on low heat over approximately 3-4 hours when I get home from work.  Once it’s cooked I mix the eggs in, season the oatmeal with nuts or seeds, butter or coconut oil, maple syrup and some fruit like raisins, apples, or berries, and I then package it up in portioned out containers for myself and my husband to take to his classroom and enjoy as he preps for his first class (he’s a teacher).

This oatmeal is an integral part of our winter breakfast rotation.

IMG_1583

Springtime Green Coconut Curry: SageSpoonLiving Recipe

IMG_1169Spring has finally come to my neck of the woods!  And my Red Bud Tree is in full bloom, a sign that I can start to relax into spring breezes, warmer weather, and GREEN-ery. Whenever a particular season is upon me, I’m excited to cook with local and seasonal ingredients. And, now that spring is here we have so much to look forward to: greens, sugar snap peas, radishes, asparagus, fiddleheads, morel mushrooms, ramps, green garlic, herbs, rhubarb, and strawberries.

With some of these ingredients in mind, I drove by a Thai restaurant the other day.  A craving for coconut curry hit me as I caught a whiff of the delights within.  And I thought, why not a spring-themed coconut curry?  I could satisfy my love for a cuisine on the other side of the world AND my love for cooking locally and seasonally.

Of course, spring has only just come our way here in Minnesota. So we don’t have a lot of local ingredients to choose from quite yet.  In two weeks we ought to be rolling in morels, asparagus, rhubarb and more!


In the meantime, here are the local ingredients I used to whip up a lovely Thai green coconut curry: mustard greens, red choy, watercress, carrots, green garlic, ramps, and walleye. I purchased the greens, ramps, green garlic, and carrots at my local coop, and the local walleye was given to me by a friend.  Any white fish will work and if fish isn’t your game, chicken will work just as well.

IMG_1158


And here are the Thai (not so local) ingredients I used: Pink Madagascar Rice, tofu, coconut milk, shitake mushrooms, sugar snap peas (not local to Minnesota yet), and green curry paste from United Noodles Asian Supermarket.

IMG_1159


1) I chopped up 1 bunch of green garlic and 1 bunch of ramps.

IMG_1160


2) I added the green garlic and ramps to a shallow wide pot along with 6 large sliced shitake mushrooms and 2 chopped carrots.  I then added 4 cups of water (enough to just cover all the vegetables) and 2 teaspoons of Real Salt. I covered the pot, turned the heat to high and brought it to a boil. I turned the heat to low, and simmered everything for 15 minutes, until the carrots were tender. (if using chicken, add chicken pieces at this point)

IMG_1161


3) In the meantime I chopped my watercress, mustard greens, and red choy.

IMG_1162


4) When the carrots were tender I added 4 walleye fillets, the packet of Thai green curry paste, and 2 cups of coconut milk.

IMG_1163

5) Then I mounded all of my chopped greens on top, turned the heat back to high, covered the pot, brought it to a boil, turned the heat to low, and simmered until the walley flaked (about 3-4 minutes).

IMG_1164

6) I removed the pot from the heat and added 1 1/2 cups of tofu, 2 big teaspoons of Organic Brown Rice Syrup, a few shakes of fish oil (optional) and a squeeze of half a lime.  I reheated the mixture and….

IMG_1165


7)  ……into a bowl went some lovely Pink Madascar Whole Grain Rice, the Springtime Green Curry, a few raw sugar snap peas and……..Ta da!

IMG_1166


 Delicious!


Healthy Snacks That Will Make a Meal: SageSpoonLiving Approach

I’m constantly telling my clients to eat whole foods and if necessary, because of busy modern lifestyles, to incorporate them into their lives in the most simple of ways. There is a foodie in me that loves to make delicious, indulgent, gourmet, everybody-is-going-to-rave-about-this food and then there is the healthy-minded practical side of me that knows that EVERY meal cannot be AMAZING, and that if I want to take care of myself  and feel good, I just need to be open to eating whole, minimally-prepped, simple food, especially when I’m busy and don’t have time to cook.

Enter the “snacks-as-a-meal” approach.  Sometimes we forget that a handful of nuts, an apple, a carrot, dollop of hummus, and hard boiled egg are sufficient for lunch. You could probably even skip the hard boiled egg and you’d be fine til about 3:30pm when you might need another snack.  This is the reality of many of our days.  We are busy people, many of us moving from one place to another during the day.  Or, even if we’re sitting at our desk for much of the day (get up and take a walk!), the truth is we may not have leftovers for lunch, and will need to have thrown something together quickly that morning before leaving for work.

I like to remind myself and my clients of the world of whole foods available to us that can be eaten and enjoyed with minimal cooking or preparation. For example, did you know you can peel and cut up a sweet potato and eat it raw? With a taste similar to raw carrots, I have put these on a vegetable tray at a get-together with not a soul knowing the difference. Throw some of these babies in a zip-lock baggie, grab that tub of hummus, a kiwi, some raw trail mix, and a small piece of high-quality cheese and you’re set for lunch.  Really.


cut-fries


This approach may not be sexy, but a lot of satisfaction can come from reminding yourself of what these whole foods taste like in their natural state.

Here are some other snack ideas: sugar snap peas with Trader Joe’s horseradish hummus (delicious!), dates stuffed with Good Life Almond Butter (the best almond butter out there!), fresh pineapple chunks (cut up and enjoy one of nature’s most glorious fruits) in combination with wasabi peas, and nori seaweed snacks (see recipe below).

IMG_1046


A little more about seaweed….

Seaweeds are some of the heathiest foods on the planet. Sea vegetables are a complete protein source and one of nature’s richest sources of vegetable protein (up to 38%) and vitamin B12.  Quite simply, they are super foods and so good for us. All of us could benefit from incorporating them into our diet more often, and vegetarians and vegans will want to especially make the exploration of seaweeds a priority.

I throw seaweed into smoothies, eat sushi (love), miso/wakame soup, and make the occasional seaweed salad recipe.  But, sometimes it’s a challenge to eat it regularly and a package of nori lies forgotten in my cupboards for months.

How to get seaweed into your diet on a more regular basis?  The seaweed snack!  Asian stores and Whole Foods have delicious little light, crispy, salty and oily seaweed snacks. While super yummy, sometimes the oil in these snacks isn’t very healthy, being of the refined “vegetable oil” variety.

The other day it finally occurred to me, why don’t I just make my own?  I have nori in my cupboard right this minute.  Thirty minutes later I had these little crisp wasabi seaweed snacks in my mouth.


IMG_1063


The equivalent of three sheets of nori was gone in the next 15 minutes.  I couldn’t stop eating them and it was only 10am.  These are super, and I mean SUPER easy.  And they are addictive.  Here’s the recipe found on TheKitchn.com (if you want to visit the site directly):

Wasabi-Toasted Nori Crisps
Makes about 60 crisps

1/4 cup water
2 tablespoons powdered horseradish wasabi
10 sheets nori
Real sea salt (pink or grey in color)

Heat oven to 250°F. (note:  I thought 300/350 was a better temp)

Combine the water and the wasabi in a small bowl and whisk with a fork until the wasabi is dissolved. The wasabi tends to settle to the bottom, so you may need to re-whisk between batches.

Take one sheet of nori and fold it in half. Unfold it and lightly paint half the sheet with the wasabi water using a pastry brush. Sprinkle the inside with salt and press it closed. Lightly brush the top with wasabi water, as well (but do not salt). Using a sharp knife, cut the nori into six strips and transfer them to a baking sheet.

Repeat this process with each sheet of nori until you have filled the baking sheet. Strips can be close to each other, but should be in a single layer without touching. Bake for 10-13 minutes, until darkened, dry to the touch, and brittle. Transfer the nori crisps to a cooling rack to finish crisping. Repeat with any remaining sheets of nori.

How to Prep an Artichoke: SageSpoonLiving Technique

Artichoke and cheesy gritsArtichokes are in season!  Not in Minnesota, where they don’t grow for nothin’, but most definitely in Castroville, CA, the self-proclaimed artichoke capitol of the world. April begins the peak of Castroville’s prime growing season and this town has an artichoke festival in mid-May to celebrate. We mid-westerners see signs of all of this activity on the other side of the country, when we begin to notice little tender artichokes showing up in our grocery stores at the end of March. These artichokes are smaller than the huge globe artichokes that are available nearly year-round from god-only-knows-where.

Artichokes have been shown to improve various digestive health disorders. They significantly lower blood cholesterol levels, prevent heart disease and atherosclerosis, enhance detoxification reactions, and protect the liver from damage.

I really like these little spring artichokes, not only because they are delicious, but also because they don’t have a pithy cottony choke in the center, near the heart of a larger artichoke, that would need to be removed.  Instead, you can quickly and simply prep these little guys for side dishes, pasta, quinoa pilaf, and many other delights.  For 10 Healthy Artichoke Recipes click on the link.


Here’s how to prep an artichoke:

IMG_1001

1. Cut off the very end tip of the stem.

IMG_1002

2. Cut off one-third to one-half of the top half of the artichoke.

IMG_1003

3. Peel off with your fingers, the outer tough leaves of the artichoke.

IMG_1004

4. Using a paring knife, cut off the outer fibrous layer of “skin” on the stem and choke (just below the leaves).

IMG_1005

5. Voila! You have removed all the tough inedible parts of the artichoke!

IMG_1006

6. Cut the artichoke in half and then into long verticle pieces.

IMG_1007

7. Put each piece in a bowl of acidulated water (this just means there is half a lemon squeezed into the water).


This is one of those vegetables in which a huge percentage of the plant is inedible and must be removed and discarded.  Look at how much of just 3-4 small artichokes I end up putting into my compost!

IMG_1008


I decided to make a quick pasta with some great black bean pasta a client introduced me to. I sauteed a few smashed garlic cloves in extra virgin olive oil, added the artichokes, some shitake mushrooms, and a little sea salt, and let them cook in the oil for about 5 minutes while giving them a stir occasionally.  I then added about a cup of water.  By the time the water had vaporized and cooked off, the artichokes were tender and my pasta had boiled to al dente perfection. I tossed in a few handfuls of arugula and had a delicious lunch.


IMG_1013IMG_1017IMG_1014


IMG_1016