The Incredible Edible Egg Oatmeal

IMG_1584Sometimes you need to write a blog post because when you search the internet for the topic you want more information about, you don’t find exactly what you are looking for.  A while ago now my mother-in-law told me about mixing egg into oatmeal to add protein and make it more sustaining.  I thought it was a great idea at the time but didn’t try it myself until recently.  Like so many things that we “finally” get around to doing, this is a huge game-changer for me.  As a “protein-type”, I need more protein and healthy fat in my daily diet. I have found that some of this protein needs to come from animals if I am to feel good.  Eggs, chicken, pork, beef, bison, venison, fish, and seafood are all part of my weekly menu and even a very small amount of these proteins, in combination with healthy carbohydrates (vegetables, nuts, seeds, legumes and whole grains) will ensure that I’m not starving two hours after I eat and that I feel good and maintain my ideal weight.

I used to make steel cut oats with nuts, fruit, and a little fat (coconut oil or butter) and love it….but it didn’t sustain me through the morning.  By 10:30am my stomach was rumbling and I needed a snack.

With the addition of egg to my oatmeal, those days are gone. 

In fact, as I write this blog post my stomach is happily content having eating a bowl of this super-charged oatmeal for breakfast four hours ago.

So, how does one add egg to oatmeal?  The first thing I should say is, think pudding, NOT scrambled eggs.  Traditional pudding is made by tempering eggs into hot milk.  Eggs are tempered into liquid and used as thickeners in all kinds of savory cooking also, most often in sauces or soups. The classic greek avgolemono soup is a great example of the use of eggs to create a creamy soup. I like this recipe for avgolemono soup because it uses brown rice.

All these types of recipes involve slowly heating beaten eggs with hot liquid so that they thicken the mixture rather than turn to scrambled eggs within the mixture.

So how do you temper an egg into oatmeal? 

1) Here’s the Basic Recipe for Oatmeal with Tempered Egg

One cup steel cut oats
4 ½ cups water if using slow cooker, 3 cups of water if making on stovetop
3 eggs

2) Either cook these proportions of oatmeal and water in a slow cooker on “keep warm” or the lowest setting overnight, on the next lowest setting, usually “low” for 3-4 hours (say, after work into your evening) or on the stove top for 45 minutes on low heat, stirring every 10 minutes or so.

IMG_1578
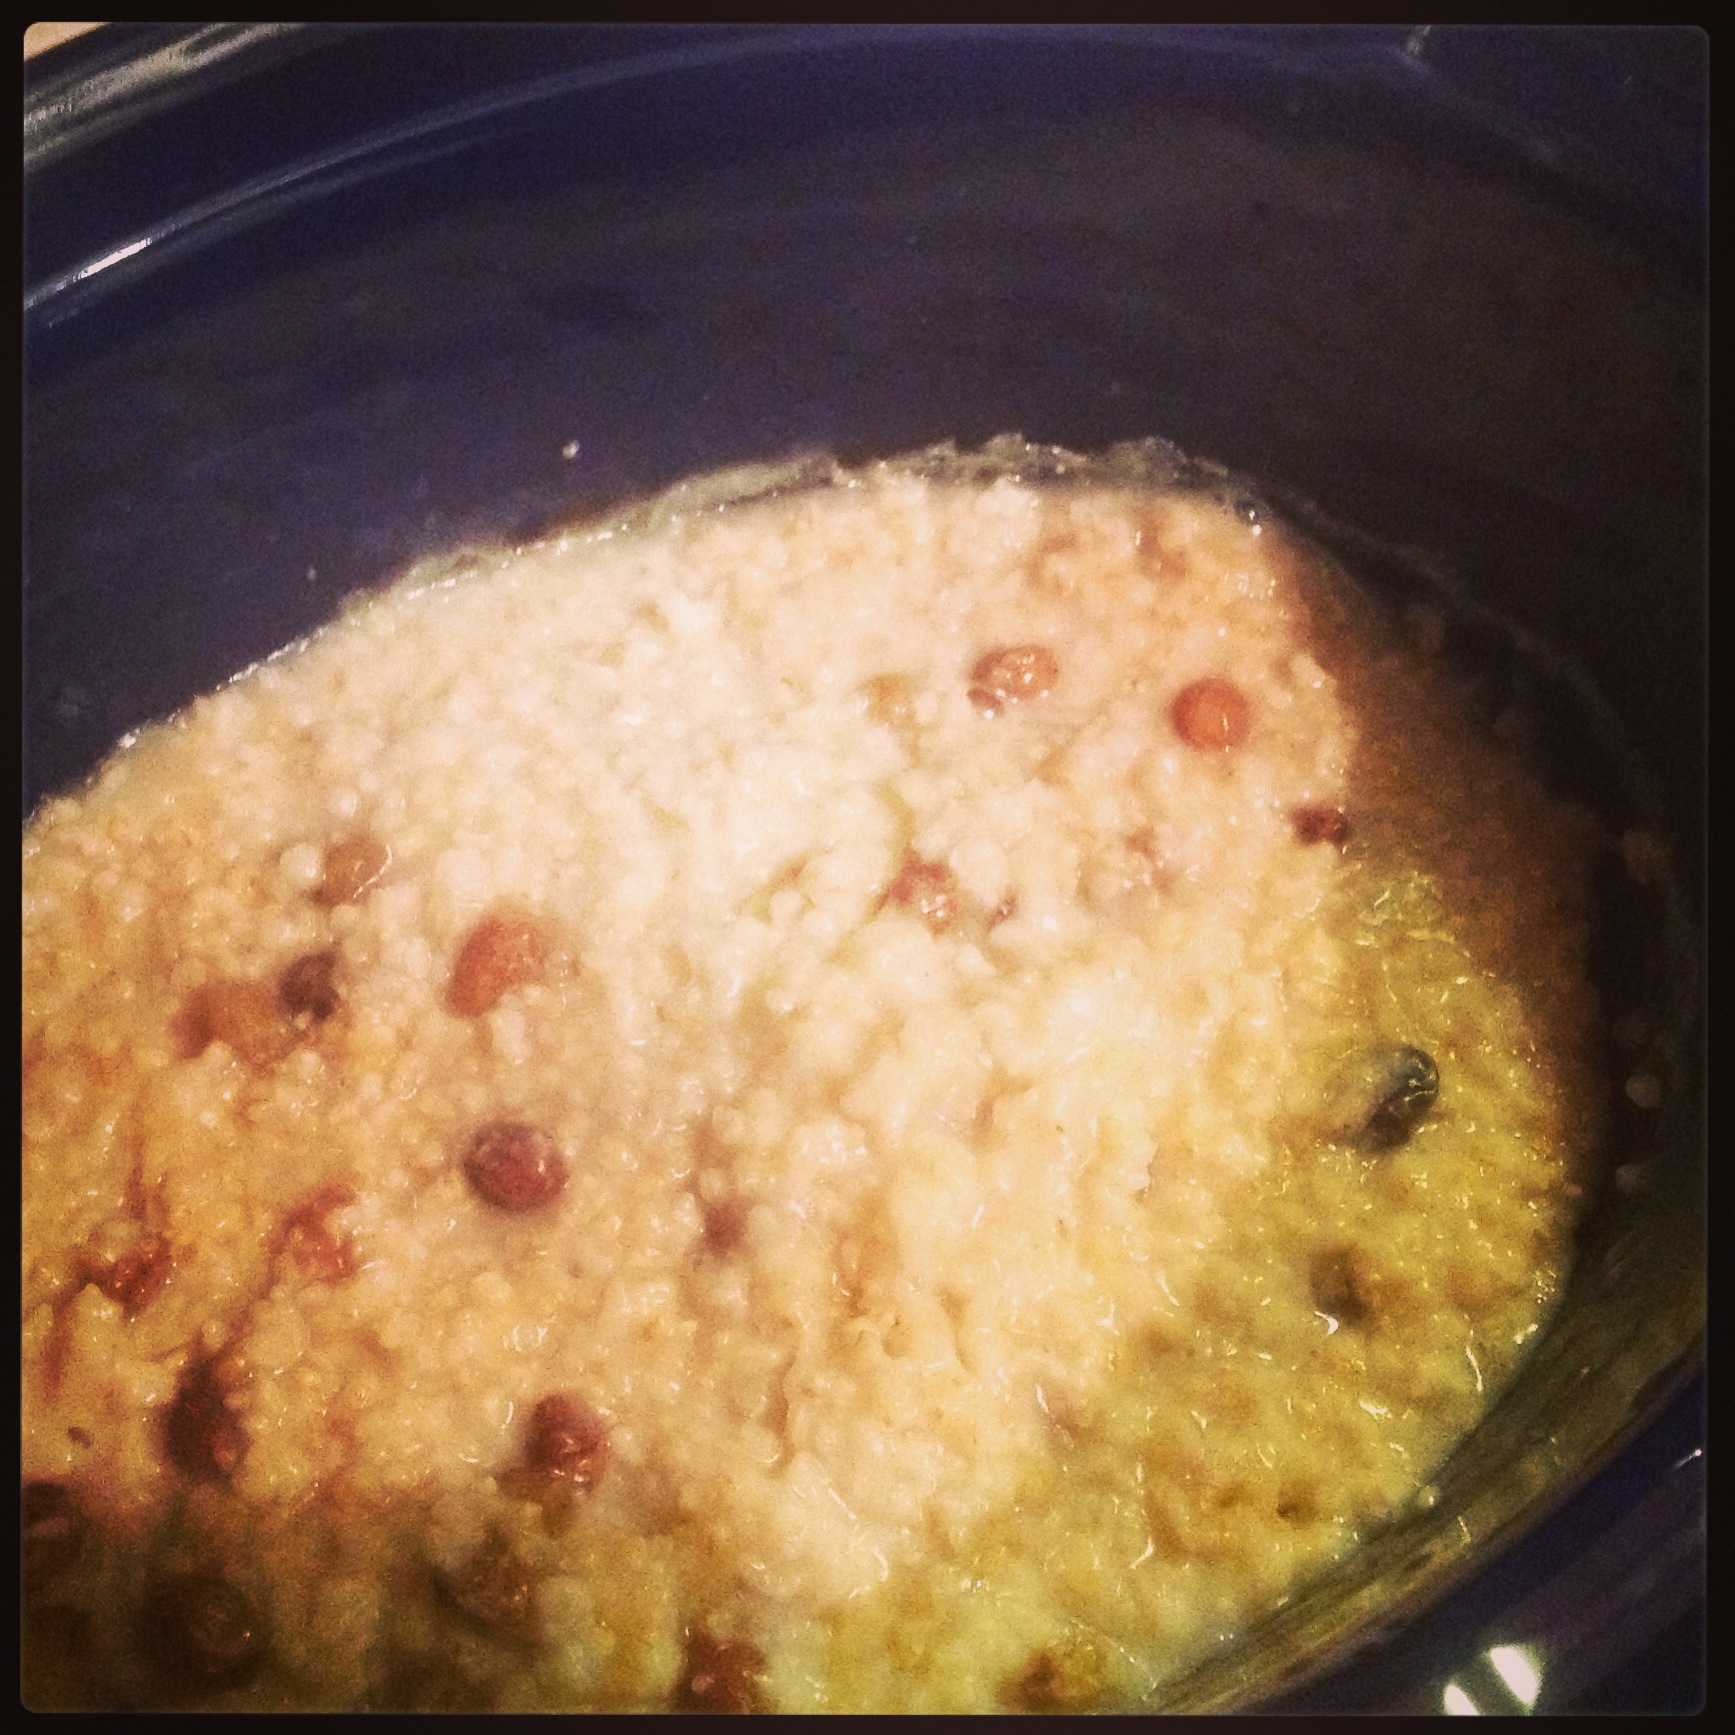
2) When oatmeal is finished cooking, it should be at a consistency at which you can ladle it into a bowl (not too clumpy and thick, but not too thin and gruel-like).  If it’s too thick add some water and reheat. If it’s too thin adjust your recipe for next time.

IMG_1580
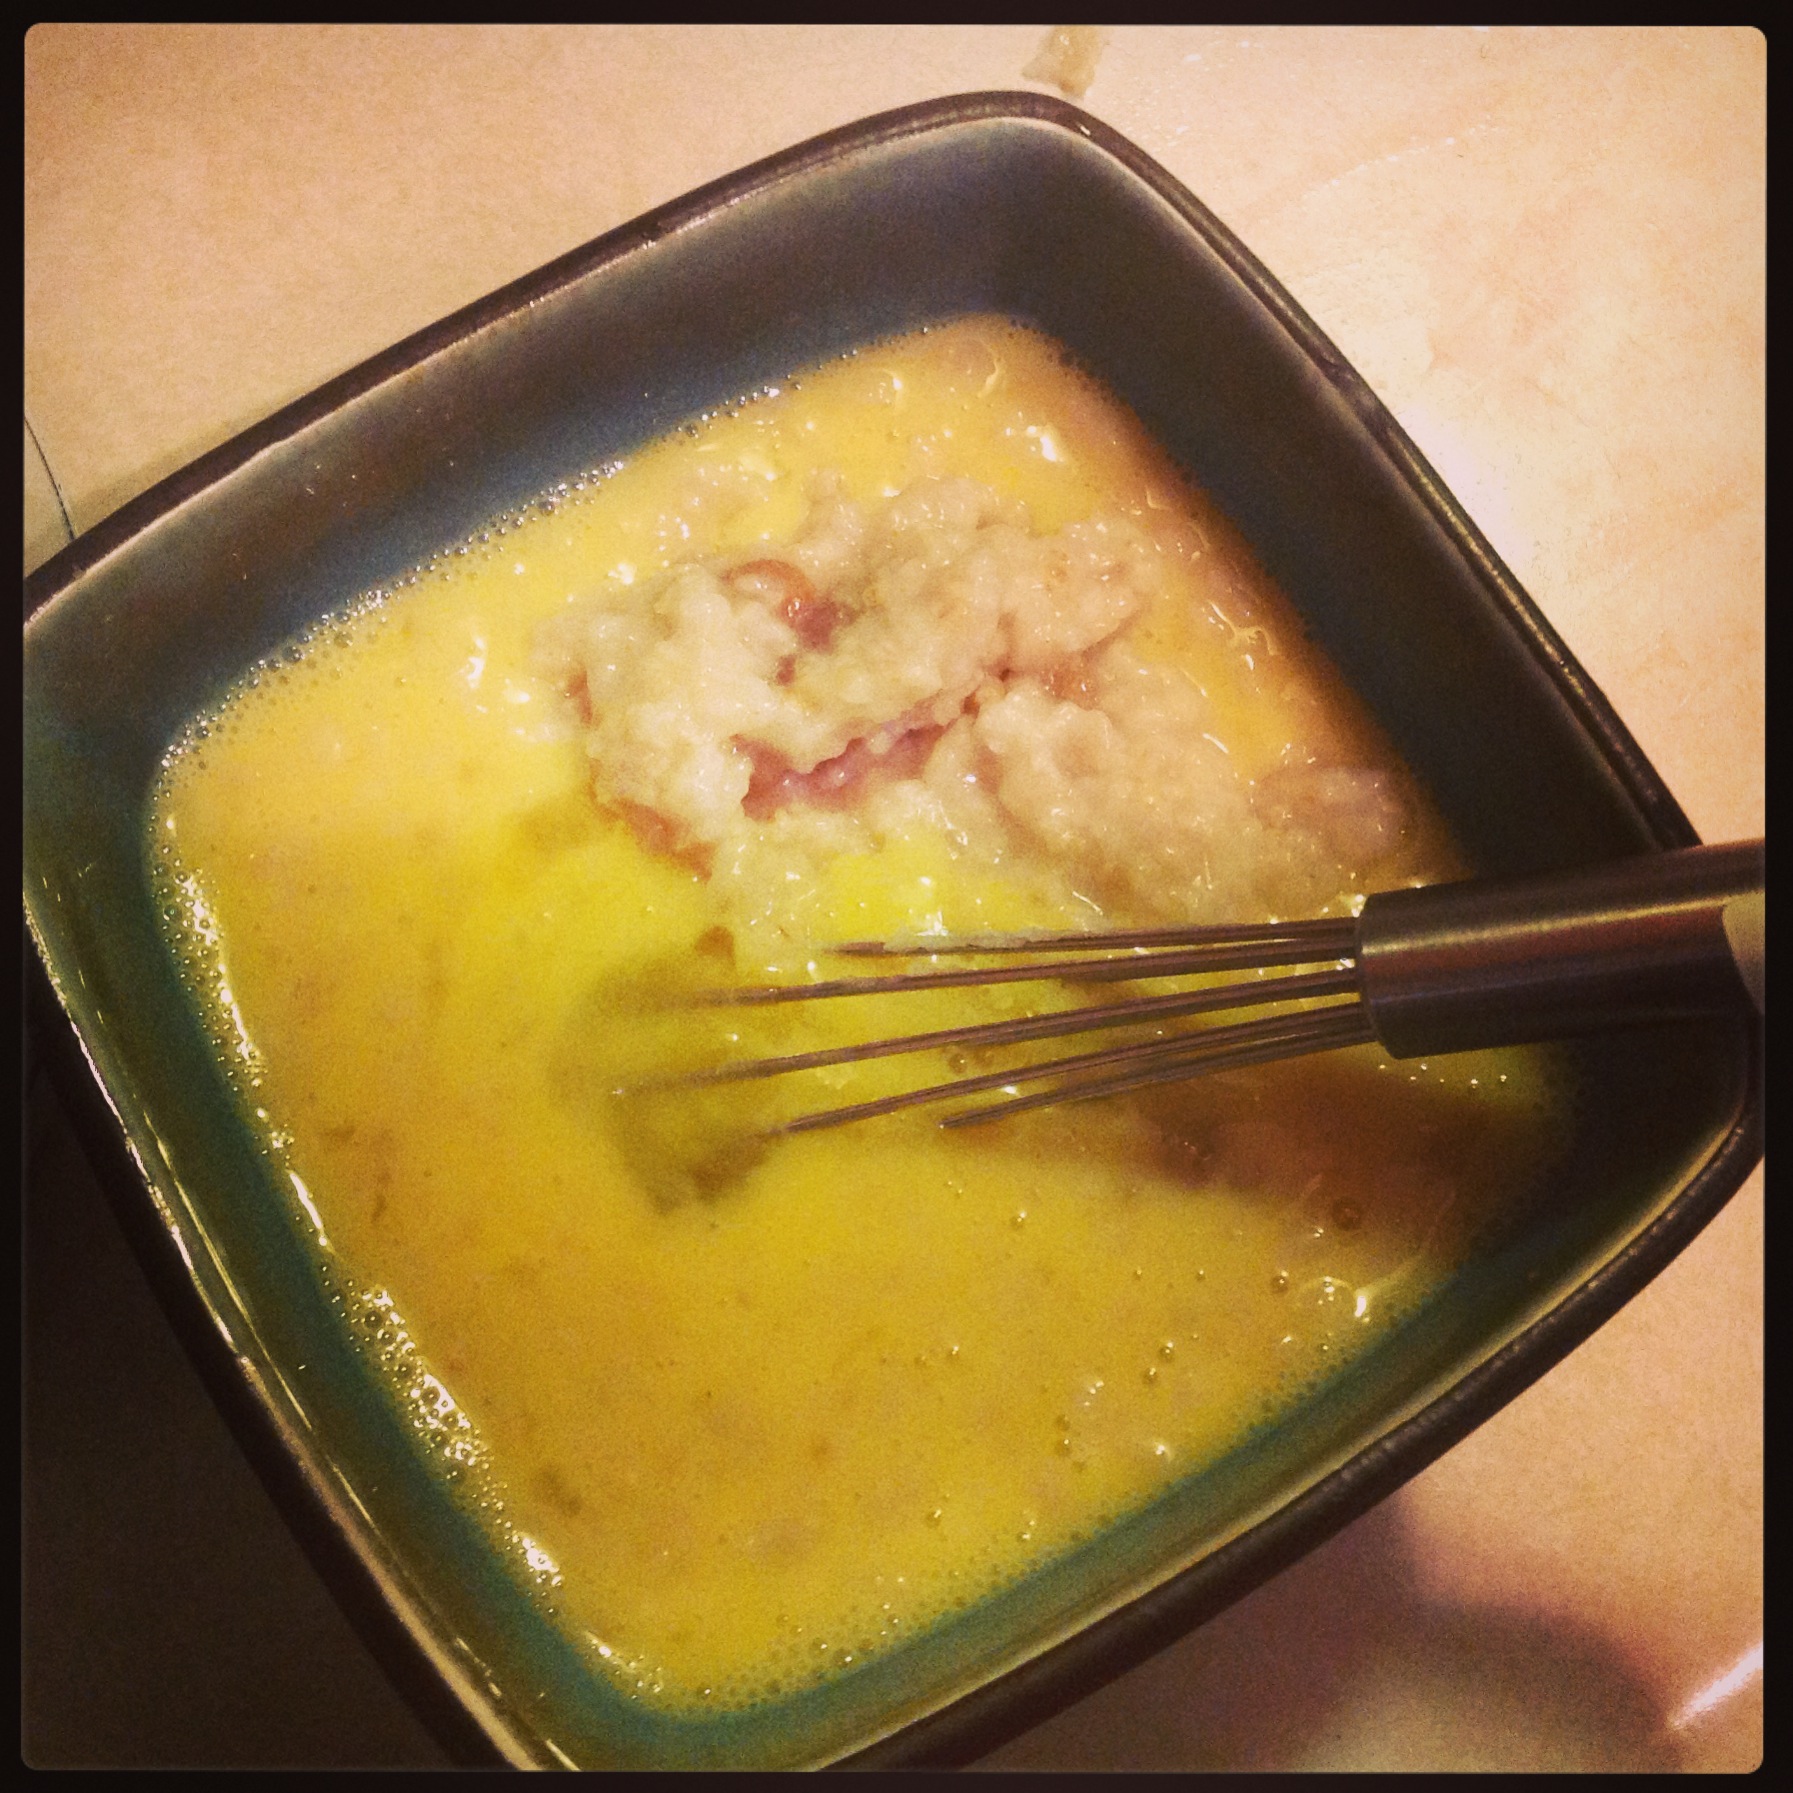
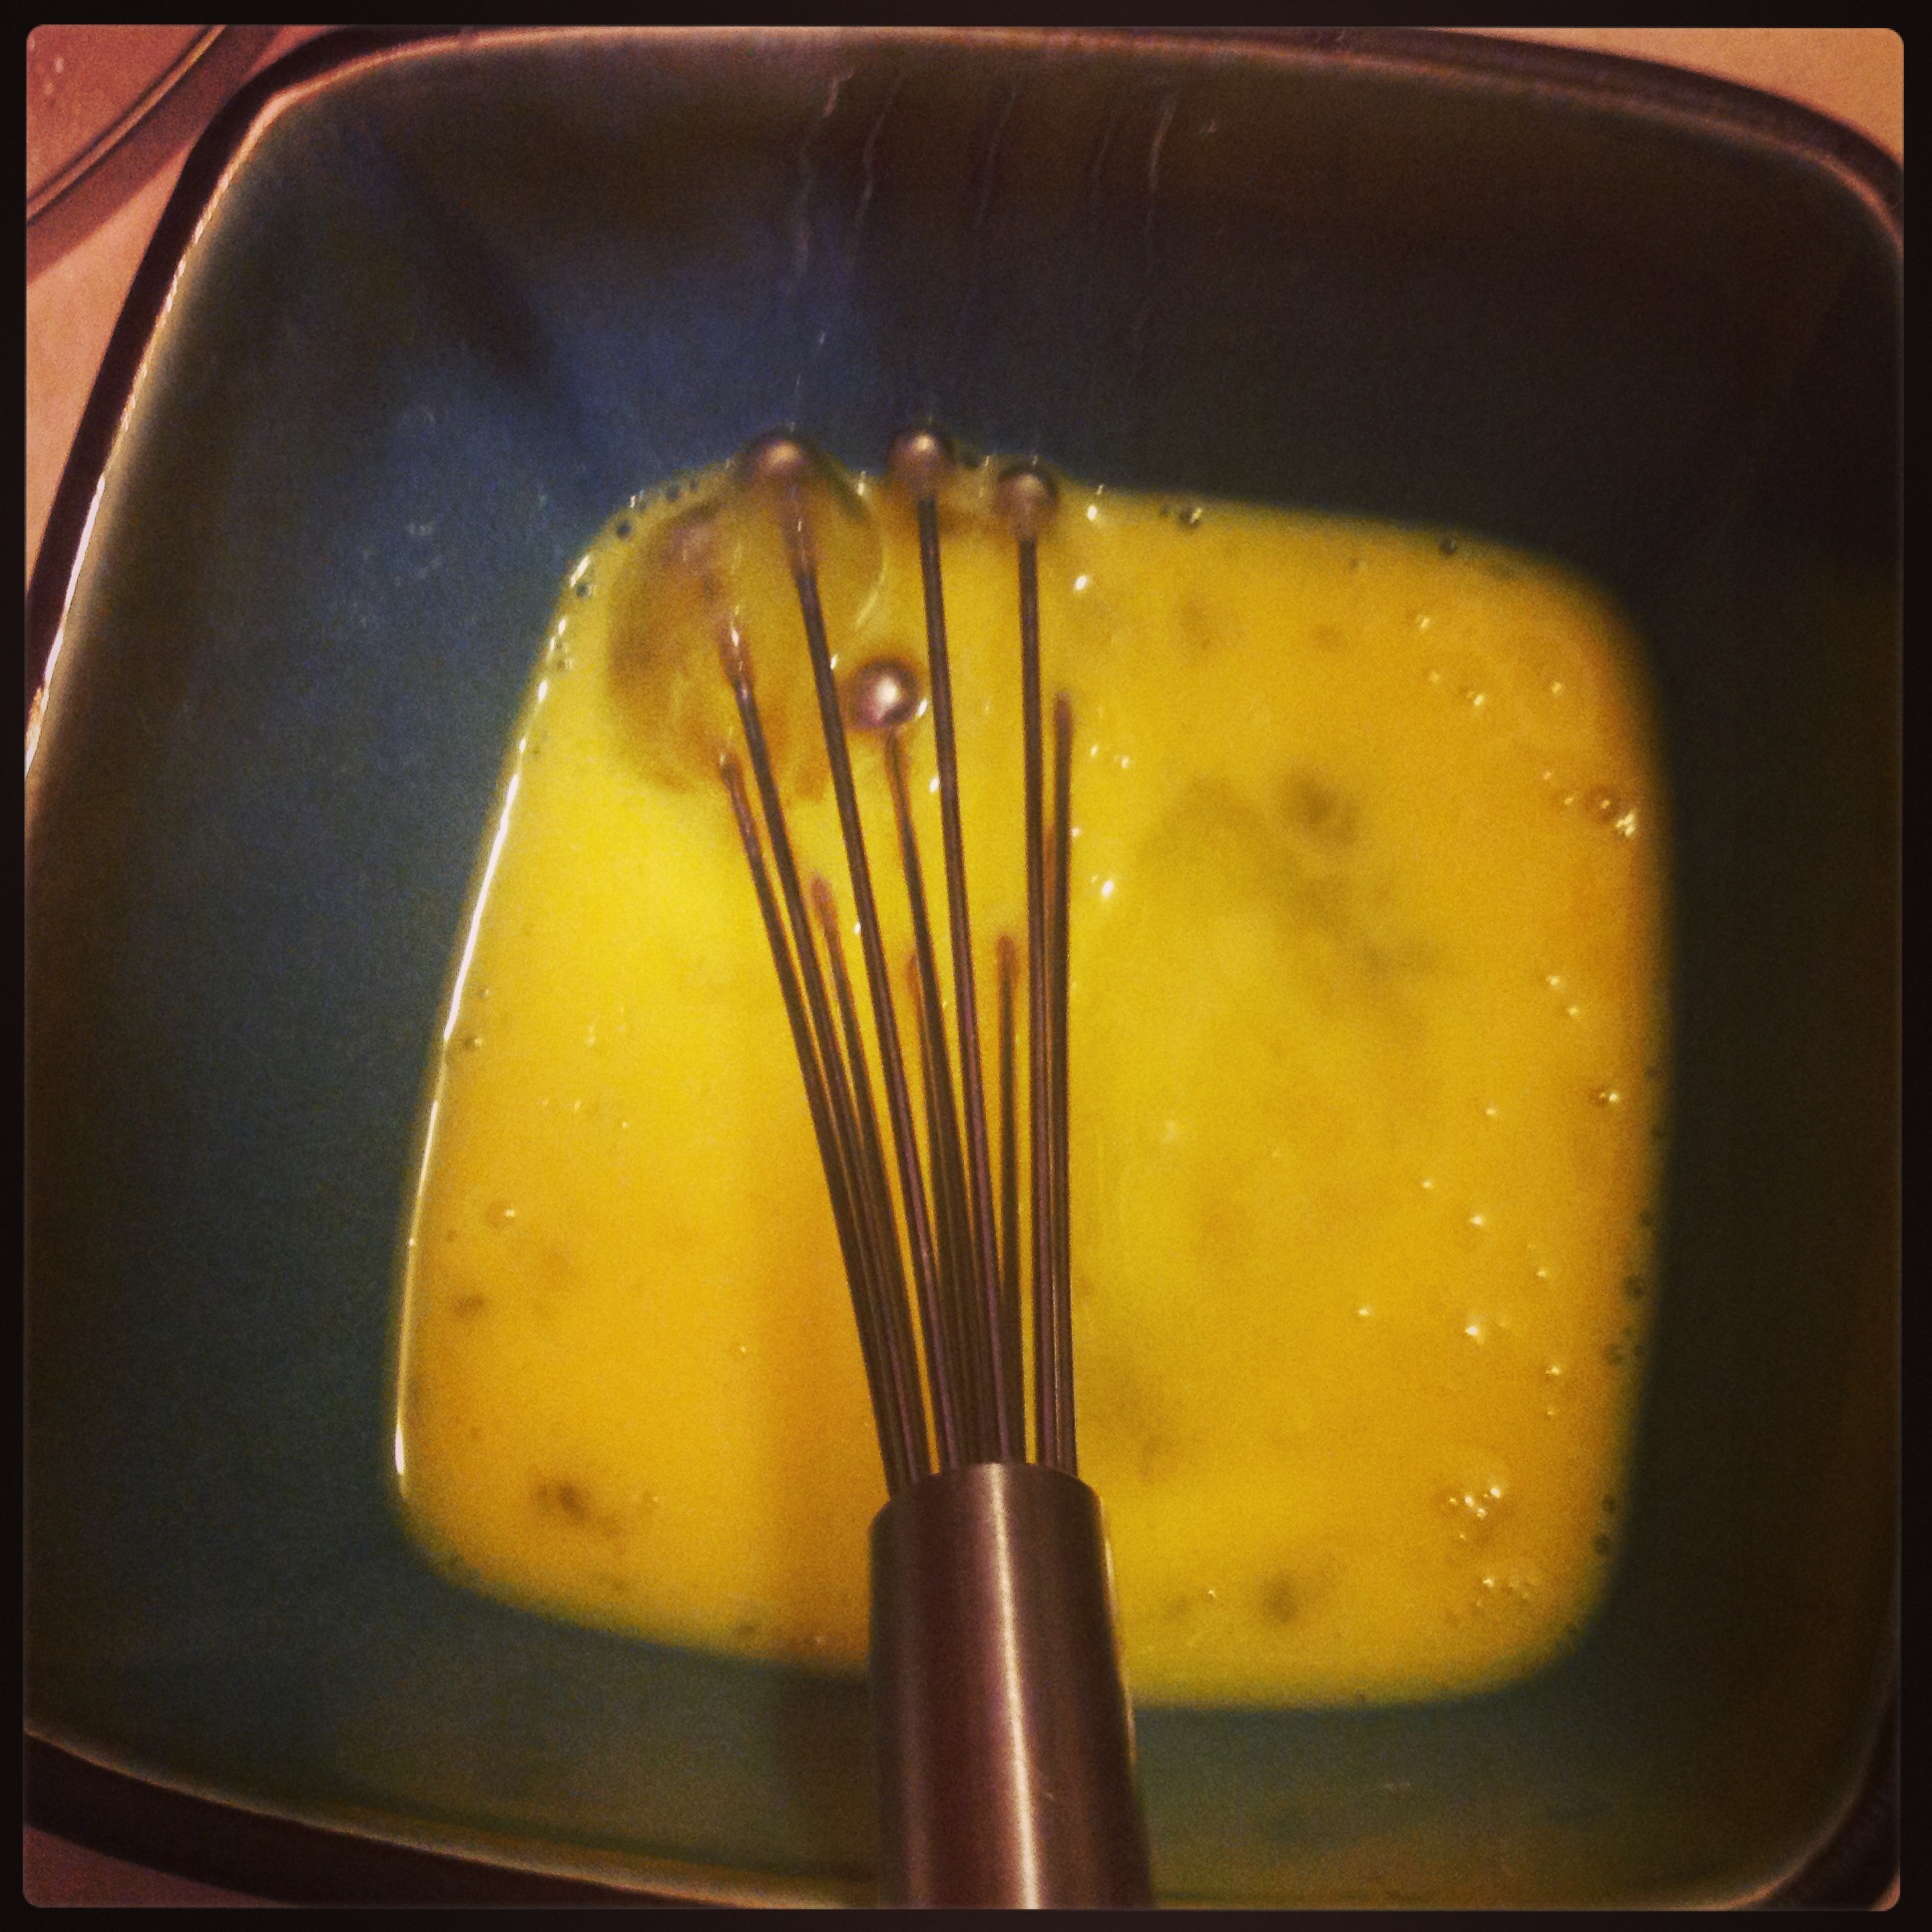
3) Beat the eggs in a mixing bowl.  Add a small amount of steaming hot oatmeal (half cup or so) to the bowl and quickly whisk into the eggs.  Add another small amount (another half cup) and whisk into the mixture.  Continue doing this about 2 to 3 more times until you’ve got a very creamy looking egg mixture with more oatmeal than egg.

IMG_1581IMG_1582
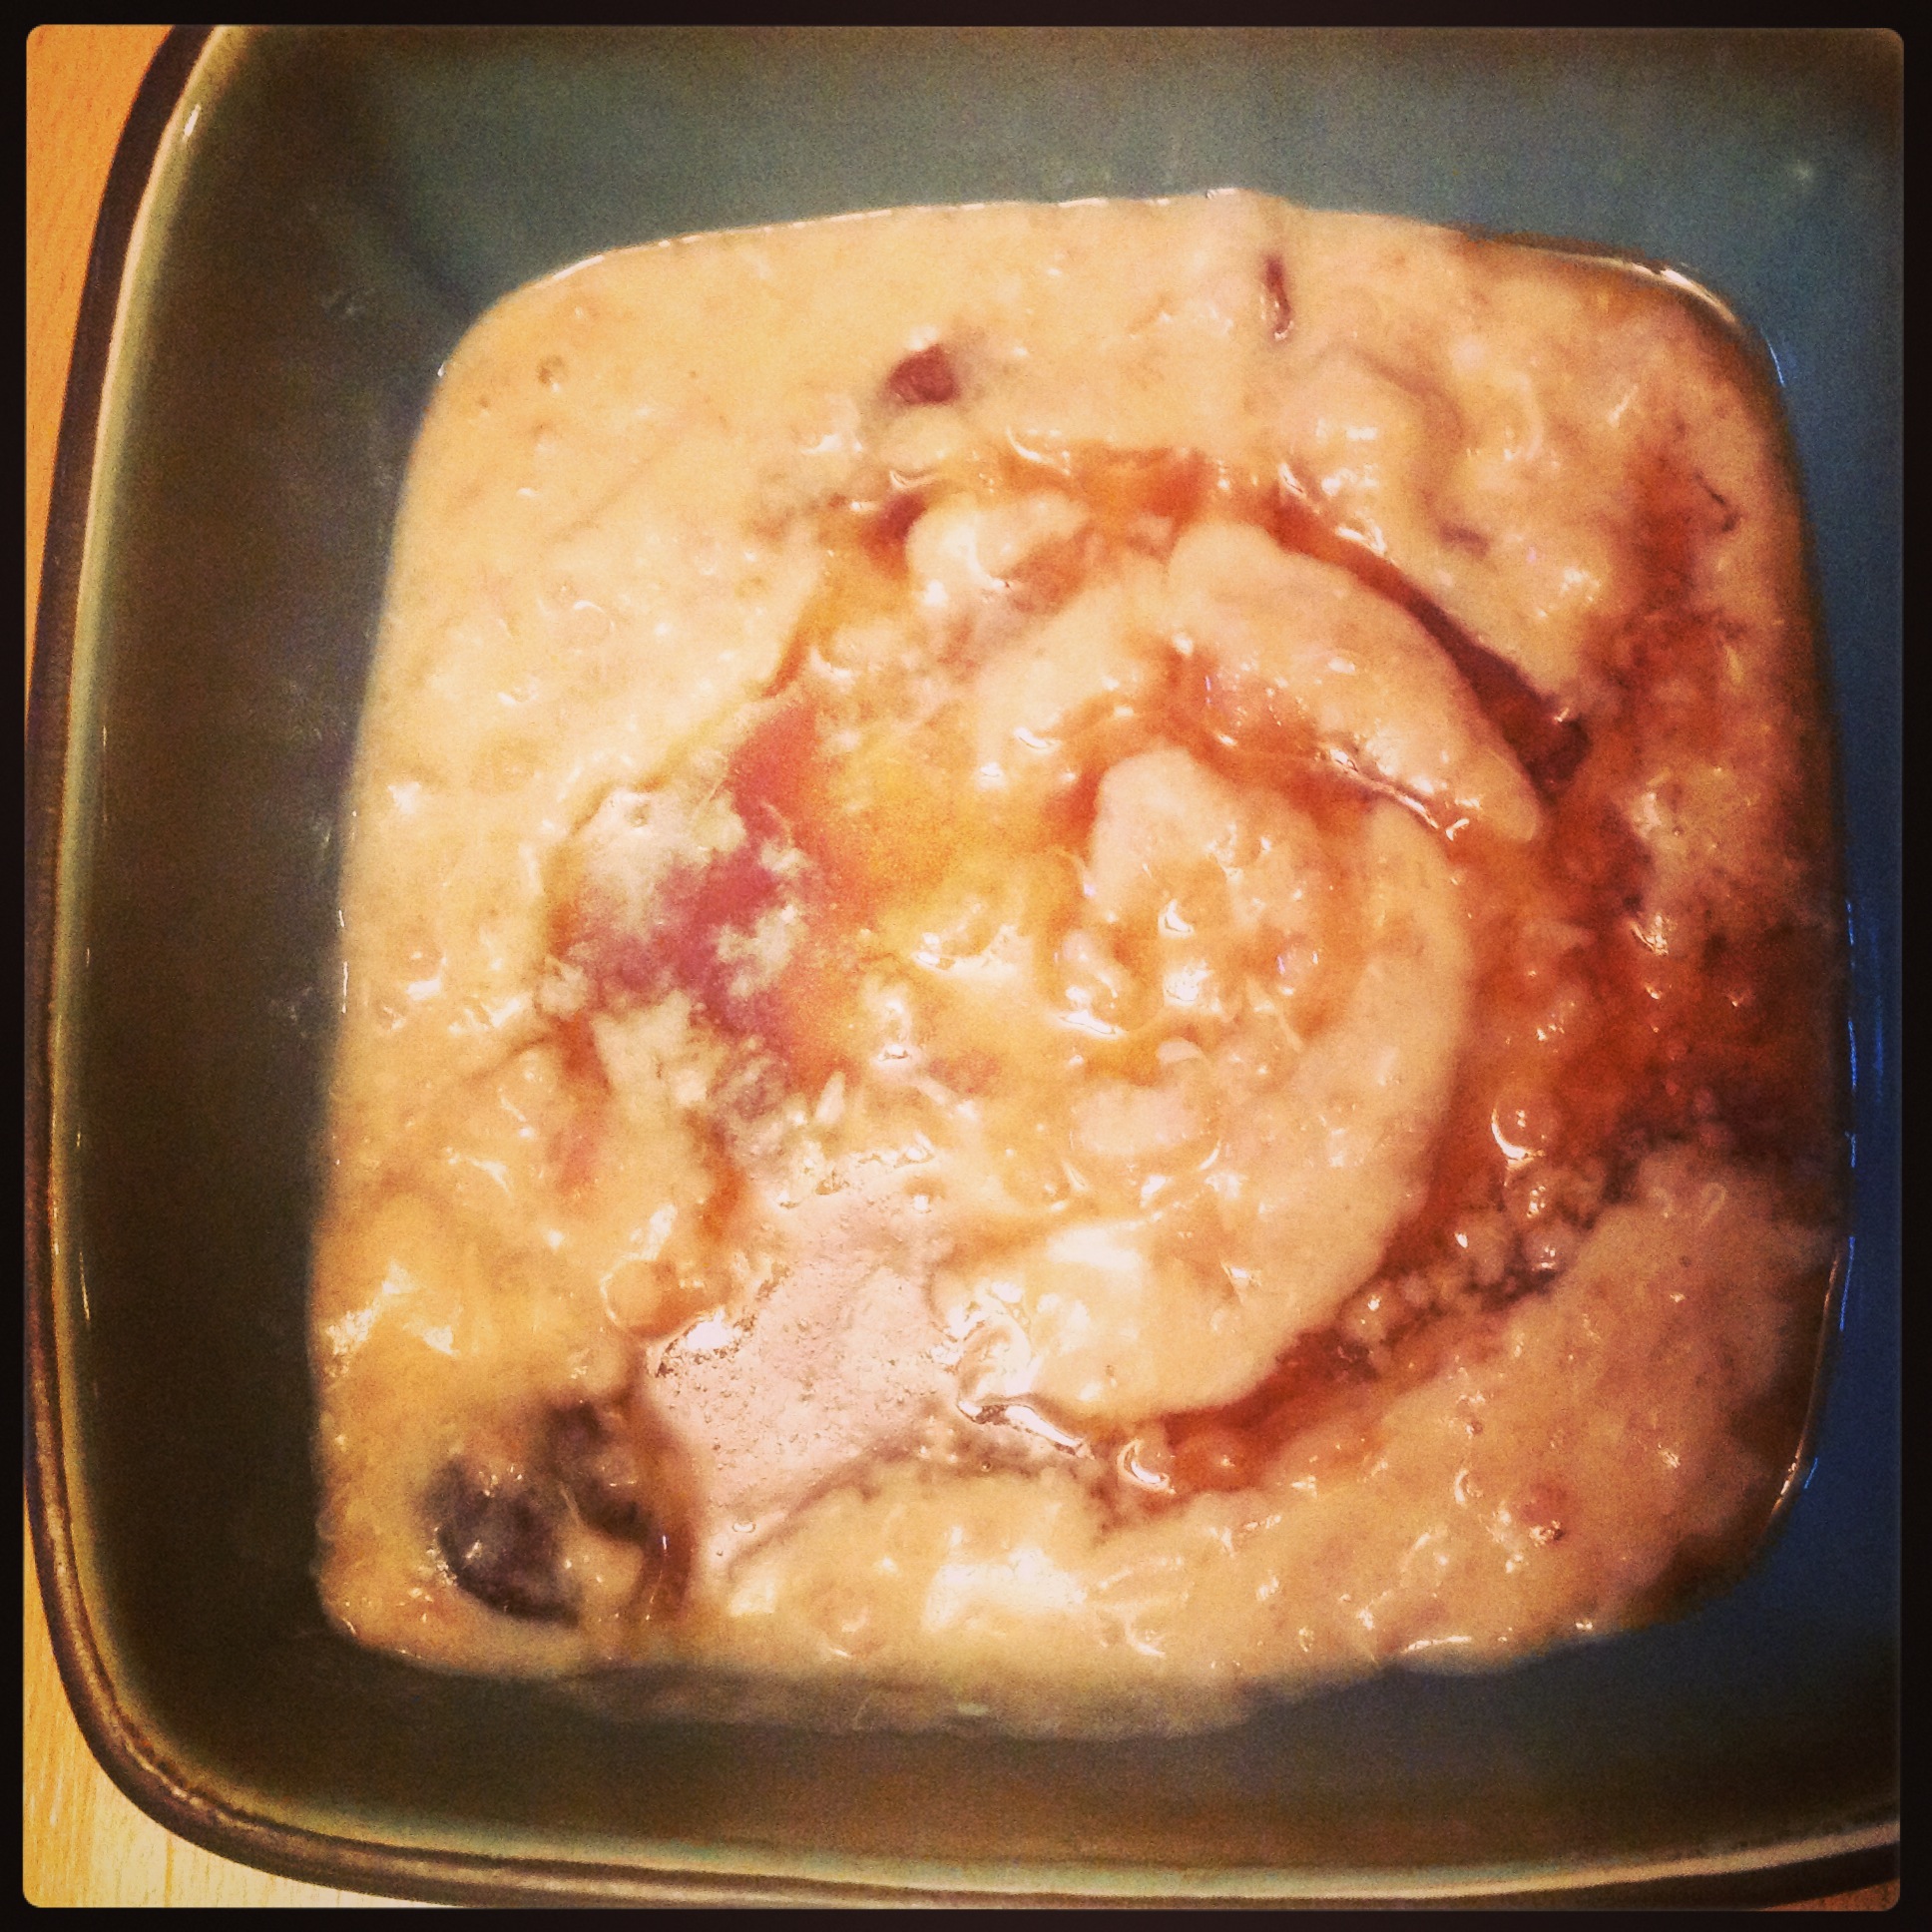
4) Dump the whole mixture back into your original pan of oatmeal, whisk thoroughly, and you are done.  You’ve got a creamy, “pudding-like” consistency and you’re good to go.  I like to make my oatmeal in a slow cooker on low heat over approximately 3-4 hours when I get home from work.  Once it’s cooked I mix the eggs in, season the oatmeal with nuts or seeds, butter or coconut oil, maple syrup and some fruit like raisins, apples, or berries, and I then package it up in portioned out containers for myself and my husband to take to his classroom and enjoy as he preps for his first class (he’s a teacher).

This oatmeal is an integral part of our winter breakfast rotation.

IMG_1583

Springtime Green Coconut Curry: SageSpoonLiving Recipe

IMG_1169Spring has finally come to my neck of the woods!  And my Red Bud Tree is in full bloom, a sign that I can start to relax into spring breezes, warmer weather, and GREEN-ery. Whenever a particular season is upon me, I’m excited to cook with local and seasonal ingredients. And, now that spring is here we have so much to look forward to: greens, sugar snap peas, radishes, asparagus, fiddleheads, morel mushrooms, ramps, green garlic, herbs, rhubarb, and strawberries.

With some of these ingredients in mind, I drove by a Thai restaurant the other day.  A craving for coconut curry hit me as I caught a whiff of the delights within.  And I thought, why not a spring-themed coconut curry?  I could satisfy my love for a cuisine on the other side of the world AND my love for cooking locally and seasonally.

Of course, spring has only just come our way here in Minnesota. So we don’t have a lot of local ingredients to choose from quite yet.  In two weeks we ought to be rolling in morels, asparagus, rhubarb and more!


In the meantime, here are the local ingredients I used to whip up a lovely Thai green coconut curry: mustard greens, red choy, watercress, carrots, green garlic, ramps, and walleye. I purchased the greens, ramps, green garlic, and carrots at my local coop, and the local walleye was given to me by a friend.  Any white fish will work and if fish isn’t your game, chicken will work just as well.

IMG_1158


And here are the Thai (not so local) ingredients I used: Pink Madagascar Rice, tofu, coconut milk, shitake mushrooms, sugar snap peas (not local to Minnesota yet), and green curry paste from United Noodles Asian Supermarket.

IMG_1159


1) I chopped up 1 bunch of green garlic and 1 bunch of ramps.

IMG_1160


2) I added the green garlic and ramps to a shallow wide pot along with 6 large sliced shitake mushrooms and 2 chopped carrots.  I then added 4 cups of water (enough to just cover all the vegetables) and 2 teaspoons of Real Salt. I covered the pot, turned the heat to high and brought it to a boil. I turned the heat to low, and simmered everything for 15 minutes, until the carrots were tender. (if using chicken, add chicken pieces at this point)

IMG_1161


3) In the meantime I chopped my watercress, mustard greens, and red choy.

IMG_1162


4) When the carrots were tender I added 4 walleye fillets, the packet of Thai green curry paste, and 2 cups of coconut milk.

IMG_1163

5) Then I mounded all of my chopped greens on top, turned the heat back to high, covered the pot, brought it to a boil, turned the heat to low, and simmered until the walley flaked (about 3-4 minutes).

IMG_1164

6) I removed the pot from the heat and added 1 1/2 cups of tofu, 2 big teaspoons of Organic Brown Rice Syrup, a few shakes of fish oil (optional) and a squeeze of half a lime.  I reheated the mixture and….

IMG_1165


7)  ……into a bowl went some lovely Pink Madascar Whole Grain Rice, the Springtime Green Curry, a few raw sugar snap peas and……..Ta da!

IMG_1166


 Delicious!


Healthy Snacks That Will Make a Meal: SageSpoonLiving Approach

I’m constantly telling my clients to eat whole foods and if necessary, because of busy modern lifestyles, to incorporate them into their lives in the most simple of ways. There is a foodie in me that loves to make delicious, indulgent, gourmet, everybody-is-going-to-rave-about-this food and then there is the healthy-minded practical side of me that knows that EVERY meal cannot be AMAZING, and that if I want to take care of myself  and feel good, I just need to be open to eating whole, minimally-prepped, simple food, especially when I’m busy and don’t have time to cook.

Enter the “snacks-as-a-meal” approach.  Sometimes we forget that a handful of nuts, an apple, a carrot, dollop of hummus, and hard boiled egg are sufficient for lunch. You could probably even skip the hard boiled egg and you’d be fine til about 3:30pm when you might need another snack.  This is the reality of many of our days.  We are busy people, many of us moving from one place to another during the day.  Or, even if we’re sitting at our desk for much of the day (get up and take a walk!), the truth is we may not have leftovers for lunch, and will need to have thrown something together quickly that morning before leaving for work.

I like to remind myself and my clients of the world of whole foods available to us that can be eaten and enjoyed with minimal cooking or preparation. For example, did you know you can peel and cut up a sweet potato and eat it raw? With a taste similar to raw carrots, I have put these on a vegetable tray at a get-together with not a soul knowing the difference. Throw some of these babies in a zip-lock baggie, grab that tub of hummus, a kiwi, some raw trail mix, and a small piece of high-quality cheese and you’re set for lunch.  Really.


cut-fries


This approach may not be sexy, but a lot of satisfaction can come from reminding yourself of what these whole foods taste like in their natural state.

Here are some other snack ideas: sugar snap peas with Trader Joe’s horseradish hummus (delicious!), dates stuffed with Good Life Almond Butter (the best almond butter out there!), fresh pineapple chunks (cut up and enjoy one of nature’s most glorious fruits) in combination with wasabi peas, and nori seaweed snacks (see recipe below).

IMG_1046


A little more about seaweed….

Seaweeds are some of the heathiest foods on the planet. Sea vegetables are a complete protein source and one of nature’s richest sources of vegetable protein (up to 38%) and vitamin B12.  Quite simply, they are super foods and so good for us. All of us could benefit from incorporating them into our diet more often, and vegetarians and vegans will want to especially make the exploration of seaweeds a priority.

I throw seaweed into smoothies, eat sushi (love), miso/wakame soup, and make the occasional seaweed salad recipe.  But, sometimes it’s a challenge to eat it regularly and a package of nori lies forgotten in my cupboards for months.

How to get seaweed into your diet on a more regular basis?  The seaweed snack!  Asian stores and Whole Foods have delicious little light, crispy, salty and oily seaweed snacks. While super yummy, sometimes the oil in these snacks isn’t very healthy, being of the refined “vegetable oil” variety.

The other day it finally occurred to me, why don’t I just make my own?  I have nori in my cupboard right this minute.  Thirty minutes later I had these little crisp wasabi seaweed snacks in my mouth.


IMG_1063


The equivalent of three sheets of nori was gone in the next 15 minutes.  I couldn’t stop eating them and it was only 10am.  These are super, and I mean SUPER easy.  And they are addictive.  Here’s the recipe found on TheKitchn.com (if you want to visit the site directly):

Wasabi-Toasted Nori Crisps
Makes about 60 crisps

1/4 cup water
2 tablespoons powdered horseradish wasabi
10 sheets nori
Real sea salt (pink or grey in color)

Heat oven to 250°F. (note:  I thought 300/350 was a better temp)

Combine the water and the wasabi in a small bowl and whisk with a fork until the wasabi is dissolved. The wasabi tends to settle to the bottom, so you may need to re-whisk between batches.

Take one sheet of nori and fold it in half. Unfold it and lightly paint half the sheet with the wasabi water using a pastry brush. Sprinkle the inside with salt and press it closed. Lightly brush the top with wasabi water, as well (but do not salt). Using a sharp knife, cut the nori into six strips and transfer them to a baking sheet.

Repeat this process with each sheet of nori until you have filled the baking sheet. Strips can be close to each other, but should be in a single layer without touching. Bake for 10-13 minutes, until darkened, dry to the touch, and brittle. Transfer the nori crisps to a cooling rack to finish crisping. Repeat with any remaining sheets of nori.

How to Prep an Artichoke: SageSpoonLiving Technique

Artichoke and cheesy gritsArtichokes are in season!  Not in Minnesota, where they don’t grow for nothin’, but most definitely in Castroville, CA, the self-proclaimed artichoke capitol of the world. April begins the peak of Castroville’s prime growing season and this town has an artichoke festival in mid-May to celebrate. We mid-westerners see signs of all of this activity on the other side of the country, when we begin to notice little tender artichokes showing up in our grocery stores at the end of March. These artichokes are smaller than the huge globe artichokes that are available nearly year-round from god-only-knows-where.

Artichokes have been shown to improve various digestive health disorders. They significantly lower blood cholesterol levels, prevent heart disease and atherosclerosis, enhance detoxification reactions, and protect the liver from damage.

I really like these little spring artichokes, not only because they are delicious, but also because they don’t have a pithy cottony choke in the center, near the heart of a larger artichoke, that would need to be removed.  Instead, you can quickly and simply prep these little guys for side dishes, pasta, quinoa pilaf, and many other delights.  For 10 Healthy Artichoke Recipes click on the link.


Here’s how to prep an artichoke:

IMG_1001

1. Cut off the very end tip of the stem.

IMG_1002

2. Cut off one-third to one-half of the top half of the artichoke.

IMG_1003

3. Peel off with your fingers, the outer tough leaves of the artichoke.

IMG_1004

4. Using a paring knife, cut off the outer fibrous layer of “skin” on the stem and choke (just below the leaves).

IMG_1005

5. Voila! You have removed all the tough inedible parts of the artichoke!

IMG_1006

6. Cut the artichoke in half and then into long verticle pieces.

IMG_1007

7. Put each piece in a bowl of acidulated water (this just means there is half a lemon squeezed into the water).


This is one of those vegetables in which a huge percentage of the plant is inedible and must be removed and discarded.  Look at how much of just 3-4 small artichokes I end up putting into my compost!

IMG_1008


I decided to make a quick pasta with some great black bean pasta a client introduced me to. I sauteed a few smashed garlic cloves in extra virgin olive oil, added the artichokes, some shitake mushrooms, and a little sea salt, and let them cook in the oil for about 5 minutes while giving them a stir occasionally.  I then added about a cup of water.  By the time the water had vaporized and cooked off, the artichokes were tender and my pasta had boiled to al dente perfection. I tossed in a few handfuls of arugula and had a delicious lunch.


IMG_1013IMG_1017IMG_1014


IMG_1016

Pickled Beets: SageSpoonLiving Recipe

Sometimes you just have a near 3 pound beet on your hands, and you need to do something with it.  You know? (Just in case you don’t believe me here is proof:)


IMG_0940IMG_0941This baby sat in my fridge for nearly a month before I decided to take him (her?) out for a nice roast.  I generally always roast my beets before I even have a plan for them and this gorgeous hunk (babe?) was wrapped in foil and in the oven before I thought too much about it.

Sometimes, for the sake of moving food along (you know the vegetables that linger in your fridge for a while with no purpose in life?), I will apply a simple cooking technique to them so as to force my eating of them.  And I love beets!  So don’t get me wrong when I say “force”…

IMG_0942

….the point is that I wasn’t that sure what to do with said beet, so I decided to just roast it, do a bunch of other stuff during the hour it was in the oven, and then go from there. Beets are delicious plain, drizzled with extra virgin olive oil, a little balsamic vinegar, or accompanied with (my favorite) some chevre (soft fresh goat cheese).

Before deciding to ultimately pickle this sucker, I treated myself to exactly that: nice warm beet from the oven, with some delicious local Donnay Dairy goat cheese. This beet was amazing.  The flavor was sweet and not too dirt-like (if you know what I mean).  It was exactly what I’m looking for in a beet. By the time I’d finished my snack, I knew what I wanted to do.


I quickly skinned and cut the beet up and put it into a quart mason jar.  I then boiled up a mostly traditional, on-the-sweet-side, pickled beet brine with a combination of  some brown rice syrup and barley malt syrup that I had (the classic recipe has sugar). As the mixture came to a boil, I tasted it frequently, looking for the exact level of sweetness I desired.

These pickles are really fantastic to have around.  They are a great addition to practically any green salad, and taste wonderfully as a side to many dinners that involve classic meat dishes like pot-roast, chicken, or burgers.


IMG_0944

IMG_0943IMG_0945


Pickled Beets

4 beets
1/2 cup water
1/2 cup rice vinegar
2 Tbsp. brown rice syrup, honey, or barley malt syrup
½ of a cinnamon stick 3 cloves and a pinch of allspice

1) Wrap beets in foil and bake in a 400 F. oven for 1 hour.   Unwrap and allow to cool.  When cool enough to handle, peel the skin off the beets and trim each end.  Cut into pickle-sized pieces and pack into a jar.

2) Combine the water, sweetener, vinegar, cinnamon, cloves and allspice in a medium saucepan.  Simmer for 2 minutes. Taste for sweetness and if not sweet enough add more to taste.   Pour liquid over beets in jar to cover.  Store in the fridge.  Will keep one month.